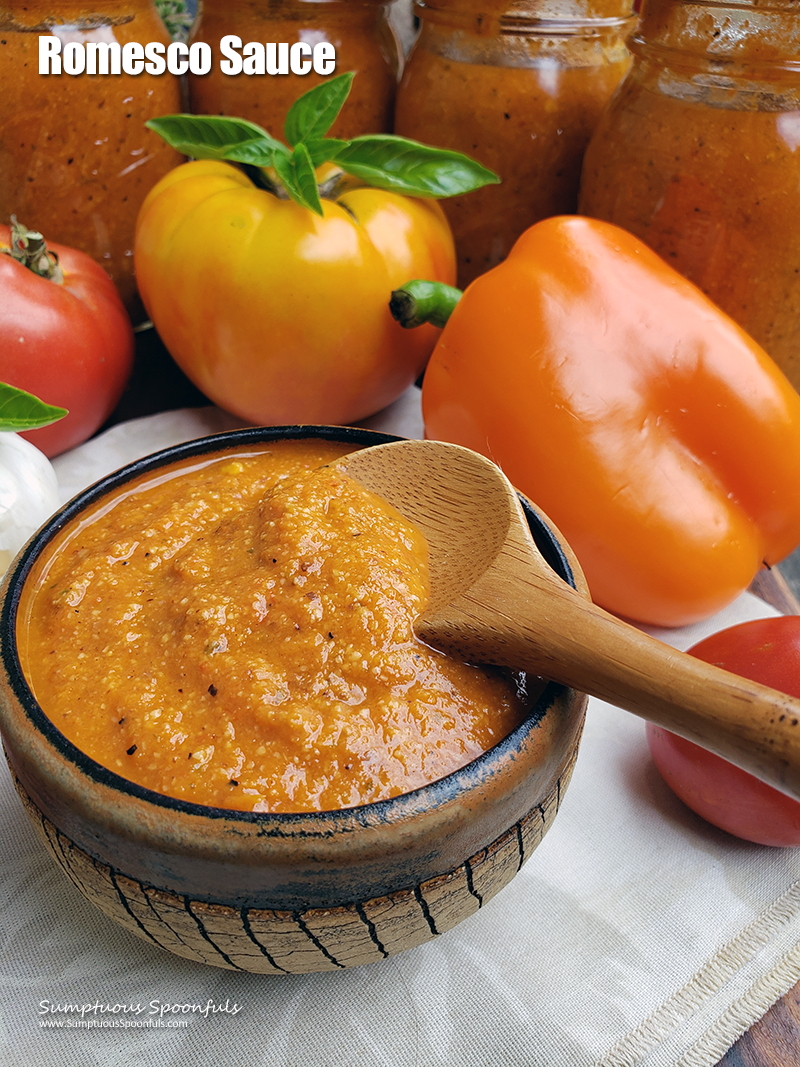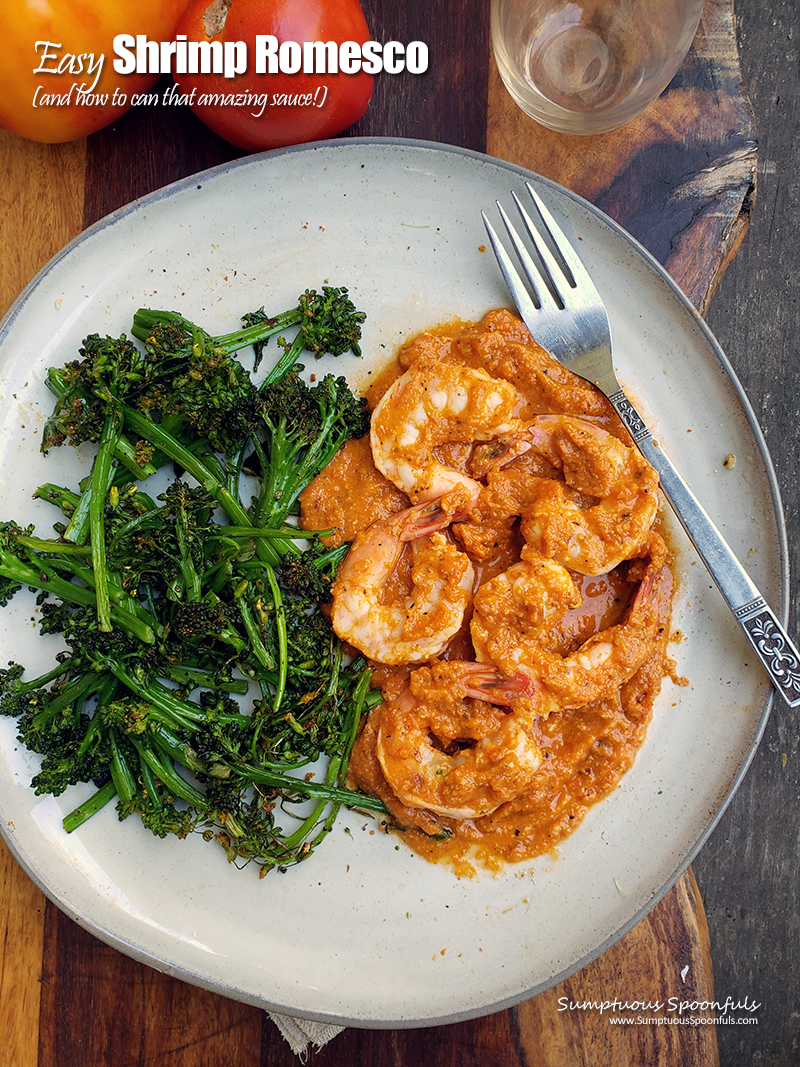
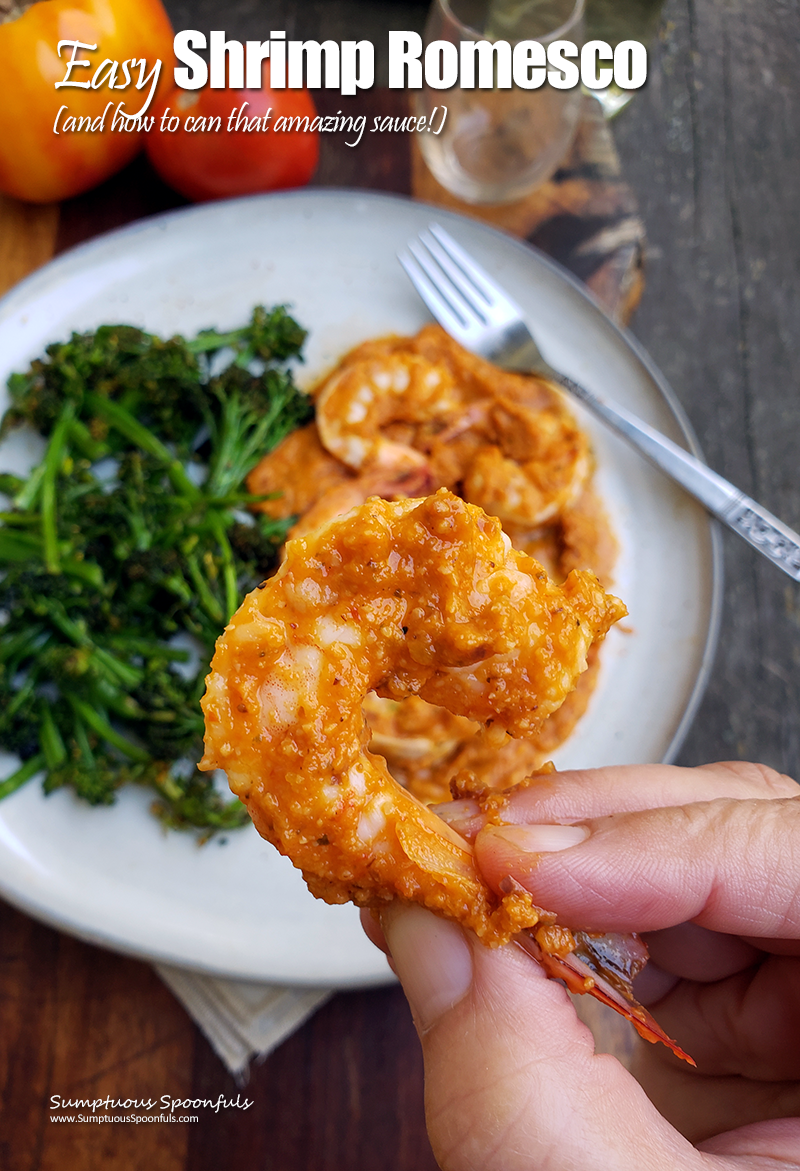
Fire roasted tomatoes and peppers join with roasted garlic, bread crumbs, almonds, red wine vinegar and a little hot pepper for a smoky rich unforgettable sauce that pairs oh so perfectly with shrimp. The shrimp are cooked directly in the sauce for amazing flavor. Serve with lots of lovely Romesco sauce to fully douse the shrimp with Spanish flavor. And that lovely sauce provides an extra opportunity for dipping roasted veggies or garlic bread. Because you WILL totally want to do that!
I included the recipe for the sauce below, if you want to make it on your own. It’s a wonderful sauce to make if you have loads of tomatoes and peppers from the garden. I’m overwhelmed with both tomatoes and peppers every year at harvest season. And determined to somehow preserve them. Romesco sauce is a recipe I return to again and again when the harvest comes in. I’ve made both a more traditional Romesco and a gluten free Romesco sauce (thickened with almonds instead of bread). The sauce below is yet another variation on the theme.
But if you already have smoky Spanish Romesco sauce on hand, the making of this shrimp dish couldn’t be simpler! You can even toss the shrimp directly from the freezer into the sauce. In Spain, they often serve these shrimp as tapas or little bites with an assortment of other little bites. Personally, I think of them as dinner.
How to Can Romesco Sauce
I’m unable to find ANY information about canning Romesco sauce in a water bath. Although the sauce includes vinegar and lots of tomatoes, it also includes almonds and breadcrumbs. And there’s no water bath canning method recommended for that. So, sadly, I cannot recommend water bath canning for this sauce. You’ll have to find another way to preserve this sauce. Most people recommend freezing it.
However, I think it’s pretty safe to say that you can pressure can romesco sauce. Especially since I’ve been successfully pressure canning it for a few years now. Pressure canning creates a vacuum that essentially pulls the air out of the jar. The vacuum seal prevents bacteria in the air from invading the contents of the jar. Thus preserving it from spoiling.
So here are a few tips I find helpful when pressure canning my Romesco sauce:
- Hot pack always works better than cold pack. My dad taught me this little trick. While many people say there’s no need to pre-cook the sauce when you’re pressure canning because the sauce cooks in the pressure cooker, I’ve had some pretty epic fails when I did that. So now I always heat up whatever I’m canning. It just works better!
- Always use clean sterilized jars and lids. Your dishwasher is effective for sterilizing jars as long as it is a heated cycle.
- I find it works better when my lids are perfectly dry, so I run them through the dishwasher, then let them dry before using them for canning.
- Warm the jars before adding hot liquids. I have an electric hotpot for tea that I use for this. I heat water to 175 degrees, then pour it into two of the jars. Before adding the sauce, I pour the hot water into the next jar.
- Use a jar funnel to help keep from spilling on the rims. Remove the funnel carefully, then use a clean cloth to wipe off the rim. Even if you think you didn’t spill a drop, still wipe the rim. The cloth can do double duty of protecting your hand from the hot jar when you’re tightening the lid on.
- Set the lid on top, then the ring, and tighten it really well. Don’t forget the water in your pressure canner!
- I process my pint jars at 12 psi for 50 minutes. It’s not a meat sauce, so I figure Romesco doesn’t have to go as long as a meat-based sauce. Let the pressure naturally release.
- Use a jar lifter to lift the hot jars out of the pressure canner.
- Listen for the “pop” afterwards. If any of the jars do not seal, store them in the refrigerator and either retry on another batch or simply use that one first!
How to use Romesco Sauce?
Now here’s where the fun comes in! Romesco sauce is SO versatile. Obviously it’s great with shrimp, but you can do the same with fish, chicken, veggies, etc. But there’s more!
- Add some of this luscious sauce to your quiche
- Use it for a luscious bath for baked eggs
- Pour some sauce into your soup to give it a lively Spanish flavor
- Slather it on bread for a scrumptious sandwich
- Sauce up your pasta with it
- Dip your veggies, cheesy garlic toast, or fries in it. It goes so well with zucchini fries or eggplant fries!
- Use it for a lovely pizza sauce
How else would you use Romesco sauce? I’d love to hear your ideas.
Print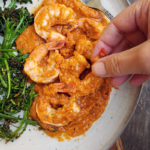
Shrimp Romesco
- Prep Time: 5 min
- Cook Time: 10 – 15 min
- Total Time: 20 min
- Yield: as many as you like!
- Category: Dinner
- Method: Stovetop
- Cuisine: Spanish
- Diet: Low Calorie
Ingredients
For the Romesco sauce: if you have romesco on hand, skip this!
- 2 full heads of garlic & a little drizzle of olive oil
- About 6 lb. of tomatoes, cored (or 2 quarts of fire roasted tomatoes)
- 2 large bell peppers (red, orange or yellow is best)
- 1/2 of a hot pepper, such as a jalapeno or salsa pepper (more or less to taste)
- 1 cup almonds
- 2 Tablespoons olive oil
- 3–4 Tablespoons red wine vinegar
- 2 cups whole wheat (or gluten free) bread cubes
- 1 teaspoon smoked paprika
- 1/2 – 1 teaspoon salt
- 2 – 4 Tablespoons fresh herbs (I used basil & oregano)
For the shrimp:
- Romesco sauce
- About 3 oz. of shrimp per person – I used frozen, peeled, tail on
Instructions
To make the sauce: (skip this section if you’ve already got Romesco!)
- Start up the grill. While the grill is heating, cut the tops off the garlic heads, set in the center of a small piece of aluminum foil. Drizzle the tops with a bit of extra virgin olive oil, then wrap loosely with the foil. Set the foil packet on the outskirts of the grill where it’s hot but not BLAZING hot.
- Roast the tomatoes and peppers on the grill until the skins are browned, turning to get all sides. Set in a bowl until all the tomatoes and peppers are roasted and the garlic is soft.
- Let the garlic and veggies cool until cool enough to touch. Pull off the tops and seeds of the peppers. Squeeze the sides of the garlic heads to get the softened cloves of garlic to pop out. (You can choose to pull the skin off the peppers and tomatoes if you want–I like including the skins because it gives the sauce extra smoky flavor.)
- Put all the sauce ingredients in a blender and blend until smooth. Taste and adjust herbs, hot pepper and seasonings to your liking.
To make the shrimp:
- Heat a frying pan over medium heat. Add a good amount of the sauce to the pan, enough to coat all the shrimp you plan to cook. Add the shrimp. (If using frozen shrimp, no need to thaw … just put them straight into the sauce!) Cook over medium heat just until the shrimp curl and turn pink.
- If the sauce has thinned from the juice of the shrimp, remove the shrimp as soon as they are cooked, then continue to cook the sauce until it’s reduced back to a nice thick sauce that will cling to the shrimp. Serve the shrimp doused with sauce. Enjoy!
Notes
The sauce recipe here makes enough sauce to can 5 pints of sauce and still have enough left to make Shrimp Romesco!
Prep and cook time below are for the shrimp only. While the sauce is a simple blender sauce, it does take some prep time if you’re roasting the tomatoes and peppers yourself.
RECIPE SOURCE: Sumptuous Spoonfuls – https://www.sumptuousspoonfuls.com/ … © Copyright 2022, Sumptuous Spoonfuls. All images & content are copyright protected. Please do not use my images without prior permission. If you want to publish any of my images, please ask first. If you want to republish this recipe as your own, please re-write the recipe in your own words or link back to this post for the recipe.