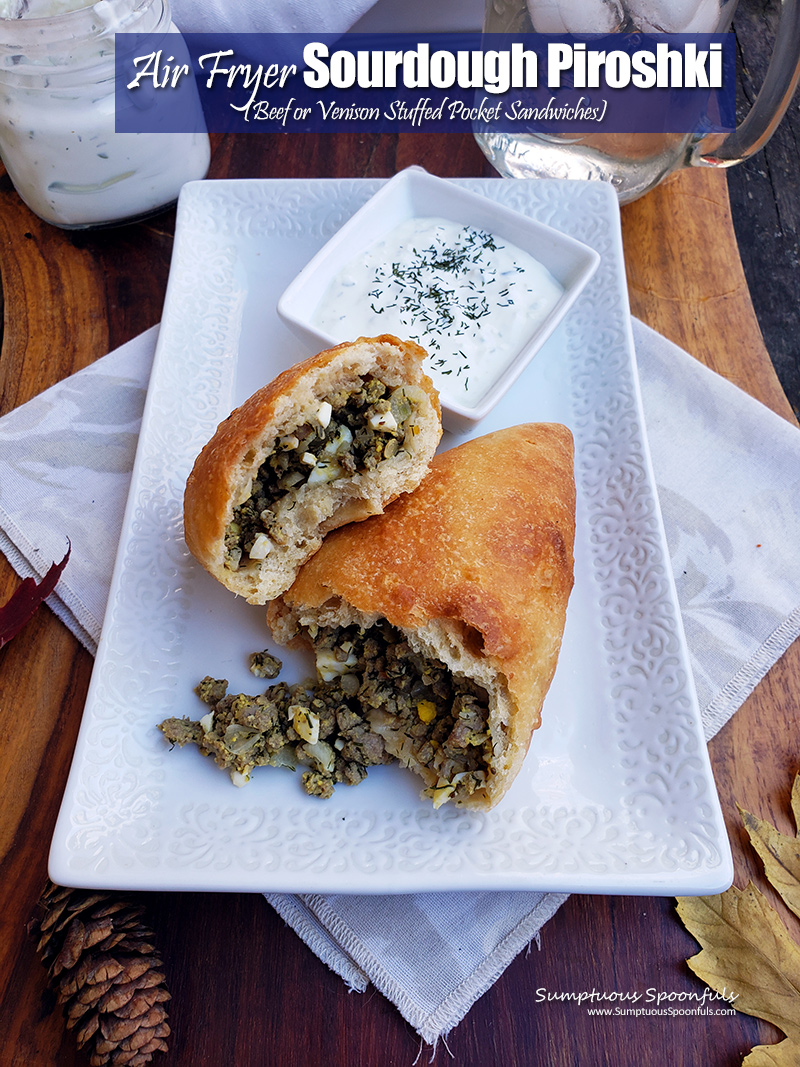
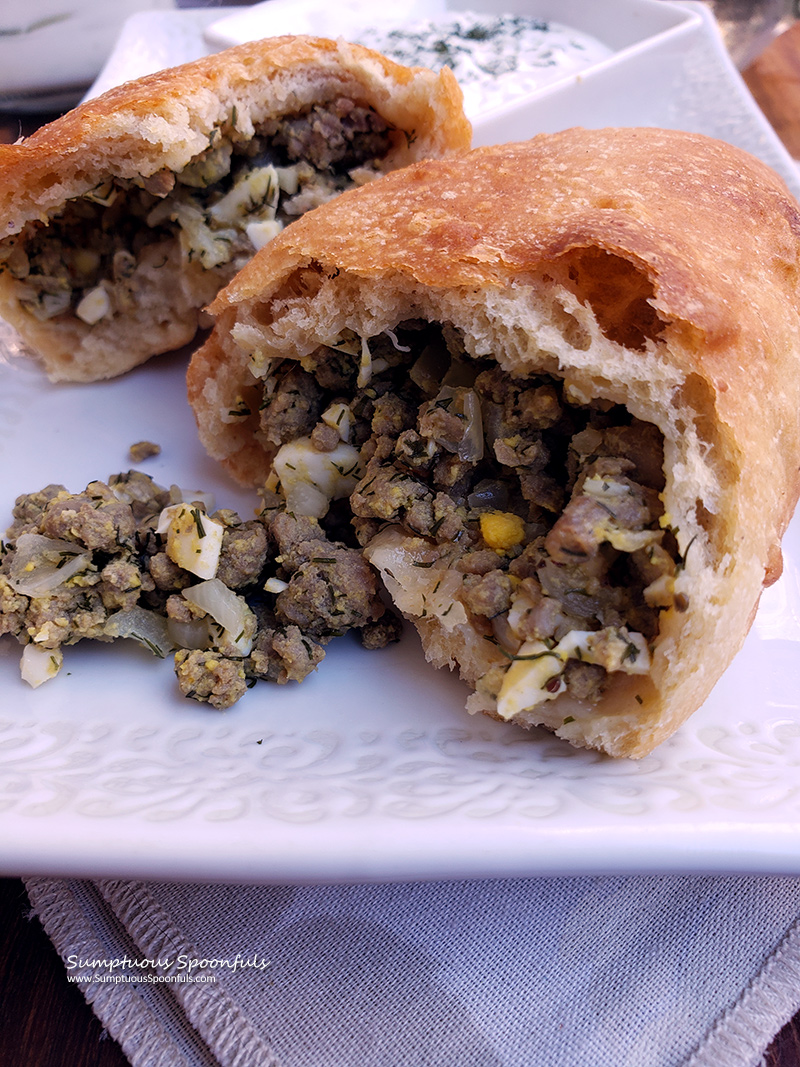
These piroshki are pocket sandwiches with a delightful hearty meat and boiled egg filling, seasoned simply with onion, garlic and dill. When cooked in the air fryer, the crust is tender on the inside yet nice and crunchy on the outside. Use sourdough starter or sourdough discard along with a bit of active dry yeast to speed up the rise time and cut down the sourness. Lean grass fed ground beef or venison are both great heart healthy choices for the filling, but you could also use ground turkey or chicken if you prefer.
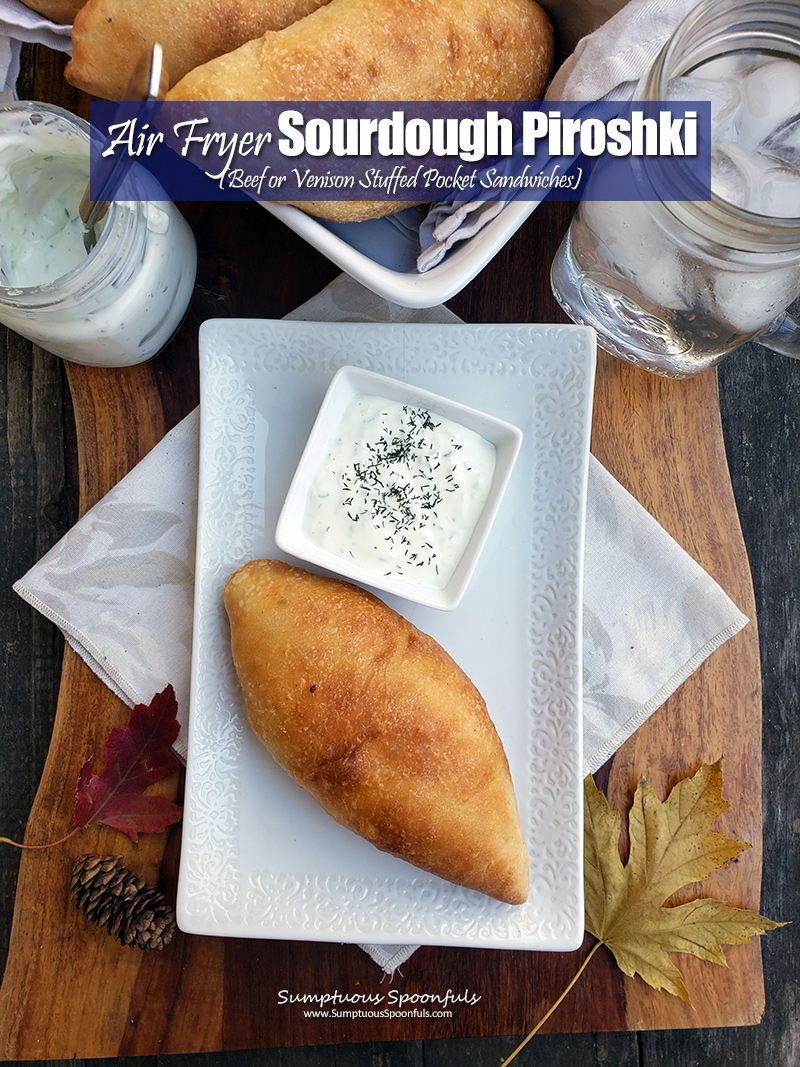
These hearty portable sandwiches go really well with my fennel dressing or a good dilly ranch sauce, with a side salad or some veggies to dip in the sauce as well. Super kid friendly and so much fun to eat AND to make! If you prefer a plant-based filling over the meaty variety, try my mixed vegetable piroshki filling. You can even get kids involved with helping mix up and roll out the dough and peeling the hard boiled eggs, or they can help with spraying or brushing the piroshki with oil before you put them in the air fryer.
Oh and by the way, making Piroshki is a great way to use up sourdough discard!
Where do Piroshki come from?
These yummy portable sandwiches referred to as Piroshki (or Pirozhki) hail from Russia or Poland, where the boat-shaped yeast-leavened sandwiches were baked in the oven, often brushed with egg. In the early days, they used what they had, so vegetables and fruits along with duck, goose and rabbit meat were used as filling in the buns. Later people moved to fillings such as potatoes and beef.
The Russians introduced these delicious pocket sandwiches to many other regions so today you’ll find variations of Piroshki in America (brought by the Volga Germans) where we’ve morphed them into bierocks (also known as Runzas), but you’ll find versions of piroshki also in Greece, Latvia, Serbia, Finland, Armenia, Central Asia, Iran, Japan and Mongolia. Each country has their own take on them, of course, and I can’t say for sure if they originated in Russia or elsewhere as it’s sort of unclear (to me, in my limited research) as to which country really holds the claim on creating Piroshki.
Russians season their food with simple herbs that keep well over long winters, so dill, parsley, chervil, tarragon, and garlic are popular.
And they make dessert versions too! Russians also stuff their piroshki with sweet fillings such as apple, cherry, apricot, lemon, or quark (which is sort of a cross between cottage cheese and yogurt). If you have extra dough after you use up all the filling, you can always make some dessert piroshki.
Why Air Fry Piroshki?
While piroshki were typically baked, you can also deep fry piroshki, which gives them a nice crunch on the outside, but isn’t the healthiest of options and also it makes a big mess in the kitchen. But my youngest absolutely loves her piroshki FRIED.
This is why we begged/cajoled my youngest (the piroshki lover in the family) to give air fryer piroshki a try. She relented, and we made a big batch of these pocket sandwiches for her to take on her cat-sitting trip to the grandparents’ house where she’d be living (with her cat and theirs) for an unspecified number of days until they returned from their hunting trip.
This post is a simplified version of a recipe I posted long ago. Frankly, making TWO fillings along with the dough was hard, and besides the potato filling was a little boring and over-complicated the whole process, so I’ve simplified it to one piroshki filling along with the dough and air fryer instructions. If you want a veggie version, I totally recommend my mixed vegetable piroshki filling.
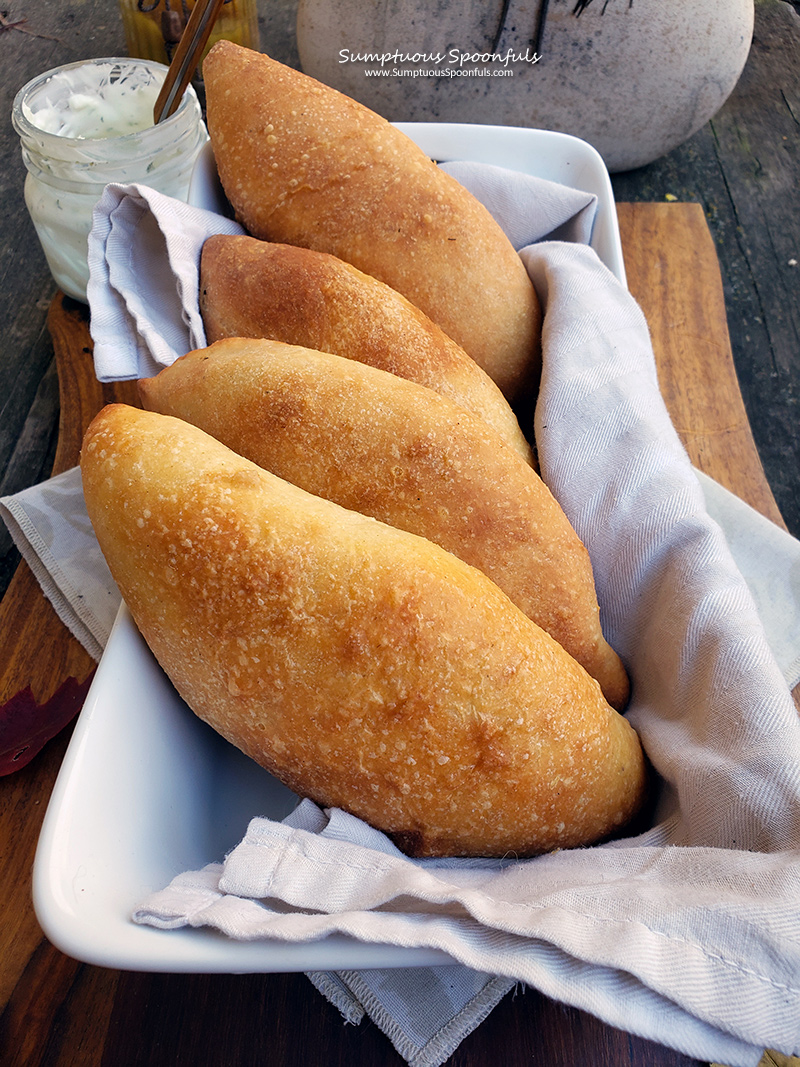
I’m happy to report our air fryer piroshki turned out REALLY well. I can’t say they are 100% as crunchy good tasting as the deep fried ones, but we (and even my picky youngest) were really happy with the nice crunch on the outer crust with a layer of soft tender goodness beneath and the yummy dilly meat and hard boiled egg filling inside. They freeze and reheat nicely too (best in the air fryer, of course), and since grampa recently purchased an oven with air fryer built in, that worked out quite well for her trip.
How do you make Piroshki?
You need bread dough and filling, so in essence the steps are:
- Make the dough. If you don’t want to trouble with making the dough yourself, you can substitute store-bought dough.
- While the dough is rising, make the filling.
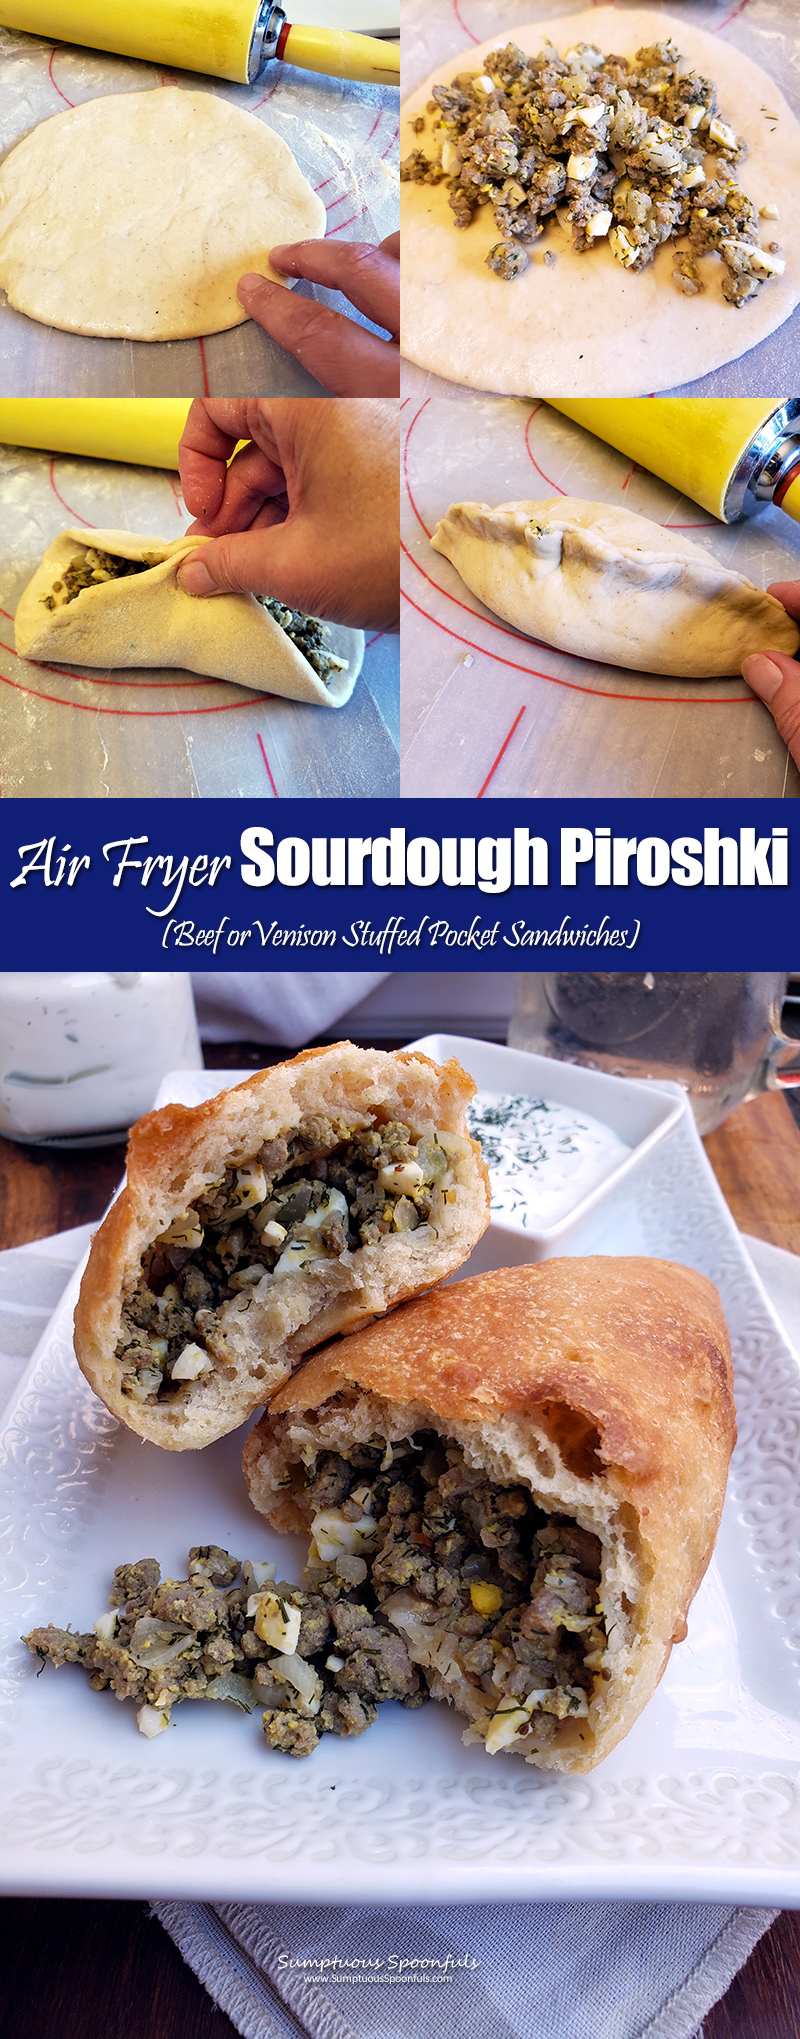
- When the first rise is complete, roll a golf ball size bit of dough into a flat circle, about 1/4 inch thick or a bit thinner (6- 8 inches in diameter). Using your fingers, wet the edges of the dough all around with water.
- Place about 1/4 cup of filling in the middle. Pull up the sides of the dough and pinch in the middle, then continue pinching along the seam until you’ve sealed the filling inside.
- Set the sealed “boat” on a plate or tray and spray or brush both sides with oil. Repeat with the rest of the dough and filling.
- Bake or fry or air fry your piroshki. To air fry: Preheat the air fryer to 320 – 330 F. Cook with sealed side down for 10 – 18 minutes (depending on size and temp of air fryer) or until nicely browned on the outside. Enjoy!!!
Do I have to use an air fryer?
An air fryer definitely helps crisp up the crust, but it is NOT required! You can also bake these in the oven (or fry them in hot oil, if you want the less healthy option). Simply preheat the oven, then bake at 350 F for about 30 minutes or until golden brown.
What if I don’t have a stand mixer?
If you have a bread machine, you can use the bread machine on the dough setting to make and rise the dough.
Or there’s always the option to use the old fashioned method of kneading the dough by hand, which is great exercise for your arms and, in a way, it’s kind of therapeutic and relaxing, once you settle into the rhythm of it.
Print
Air Fryer Sourdough Beef Piroshki
Ingredients
For the dough:
- 1 cup milk
- 4 oz. sourdough starter (directly from the fridge, or discard sourdough starter is fine)
- 2 Tablespoons water
- 2 large eggs
- 3 cups bread flour (+ 1/2 cup or so)
- 1 cup whole wheat flour
- 1/4 cup sugar
- 1 teaspoon active dry yeast
- 1 teaspoon salt
- 1/4 cup melted butter
For the filling:
- 1 lb. very lean ground meat (beef, elk, venison)
- 1 medium onion, peeled and chopped fine
- 4 cloves of garlic, peeled and chopped fine
- 1 teaspoon salt
- 2 teaspoons dried dill (or 1 Tablespoon fresh snipped dill)
- 4 hard-boiled eggs, peeled and chopped
- Fresh-ground pepper, to taste
Instructions
- In the bowl for your stand mixer, stir together the dough ingredients, then using the dough hook, knead on the 2 setting for about 5 minutes, adding flour bits at a time as needed to keep the dough from sticking to the bowl. Pick up the dough from the bowl, pour a Tablespoon or so of olive oil in, then swirl the dough around to coat it in oil. Cover and set in a warm place to rise for about 1 – 1 1/2 hours or until doubled in size.
- While the dough is rising, make the filling. In a large frying pan, brown the meat with the onion and garlic, sprinkle with salt & dill and stir in the chopped eggs. Add fresh ground pepper to taste.
- When the dough is ready, divide it into 12 parts. Use your hands to make each one into a disc shape, then roll out on a lightly floured surface to about 1/4 inch thick (covering the rest of the dough with a clean towel or plastic wrap while working. If the dough springs back, let it rest a few minutes, then try rolling it out again.
- Pour 1/4 – 1/2 cup of the warm meaty filling into the center of the dough. Add water to a small bowl or cup and set next to your rolling area. Dip your fingers in the water and wet the edges of the dough all around. Pinch to seal. Set on a baking sheet lined with silicon baking mat, seal side down and cover with a clean towel while repeating the process until all the piroshki are filled and shaped.
- Preheat the air fryer to 320 – 330 F. Spray or brush the piroshki with oil on both sides, then air fry for 10 – 18 minutes or until the piroshki are nicely browned on both sides. Let cool slightly before digging in.
Notes
Cook a single layer of piroshki at a time, leaving space in between them for the air to flow. Our air fryer held 3 piroshki at a time, so we had to do them in batches. While the first three were in the air fryer, we shaped the next three. We found that some of our piroshki cooked in 10 minutes while others took up to 18 minutes. The first couple batches we did at 320 and the later batches at 330 … the ones we did later went WAY faster. Also, some of our piroshki were definitely bigger than others! And keep in mind, air fryers can vary greatly in cooking times, so keep watch and figure out what timing works best for you and your air fryer.
Piroshki freeze well, so they’re great for meal prepping for days when you need a quick easy meal. Simply give them a little spray of oil and air fry them again to warm them up.
.
4 comments
Sounds terrific and so much easier in the air fryer❤
This is a wonderful dinner idea for the air fryer!
why use active dry yeast if using sourdough starter? Can I double the sourdough starter and not use active dry yeast?
I like to add a bit of yeast to my sourdough breads to make them rise faster and cut the sourness of the sourdough. You can leave out the yeast if you prefer, but the dough will take much longer to rise and will taste more sour.