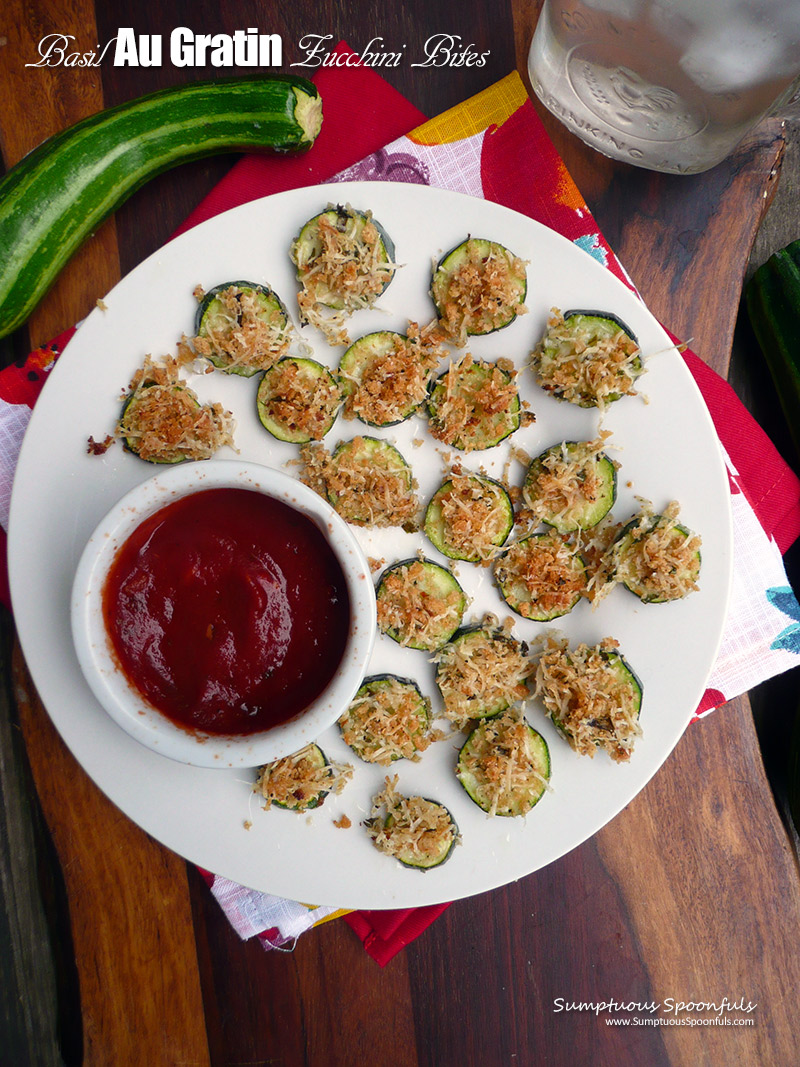
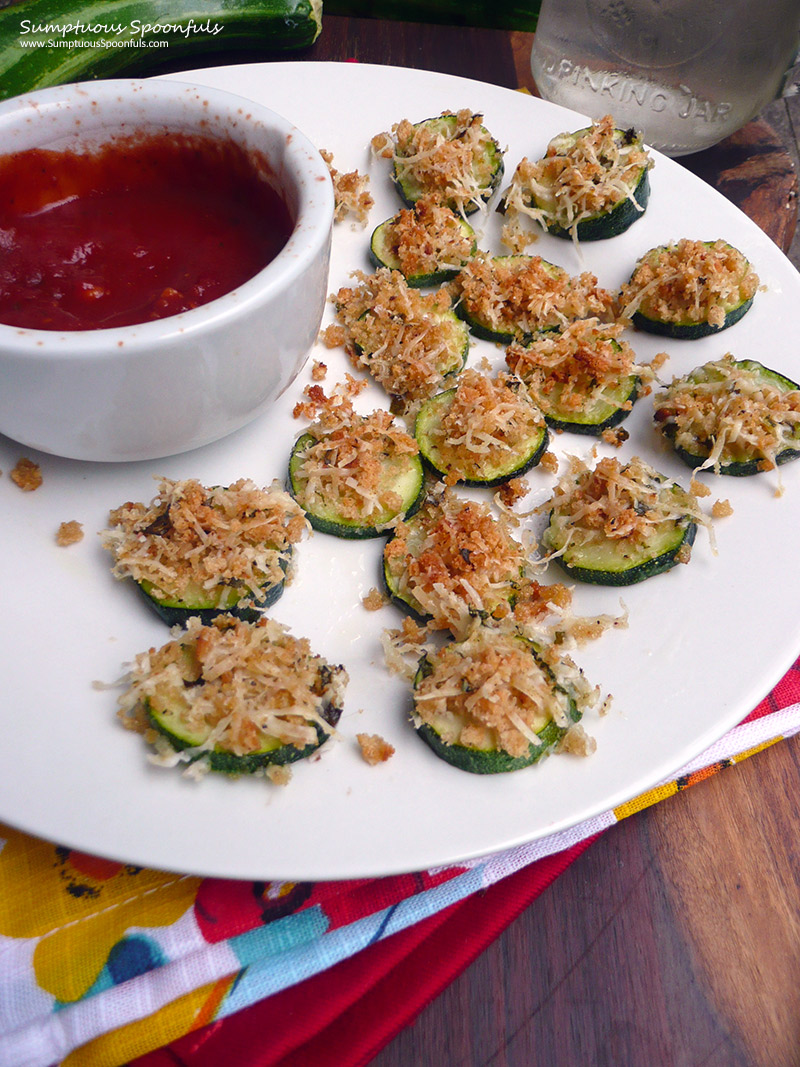
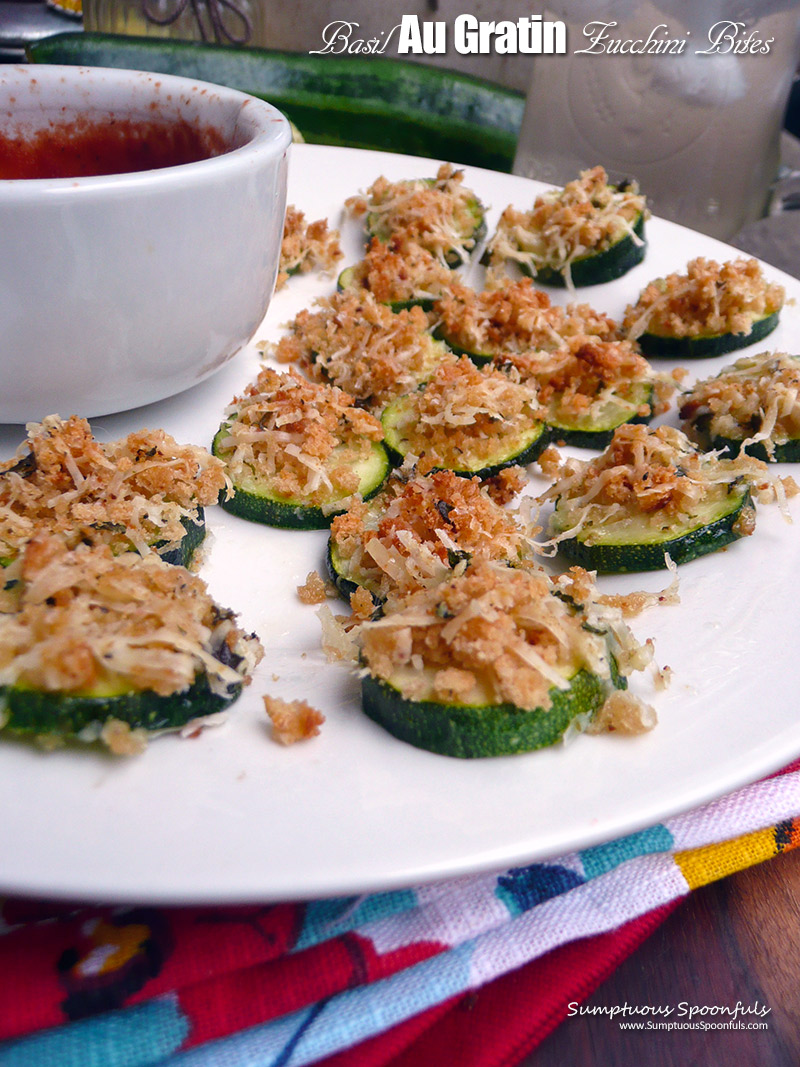
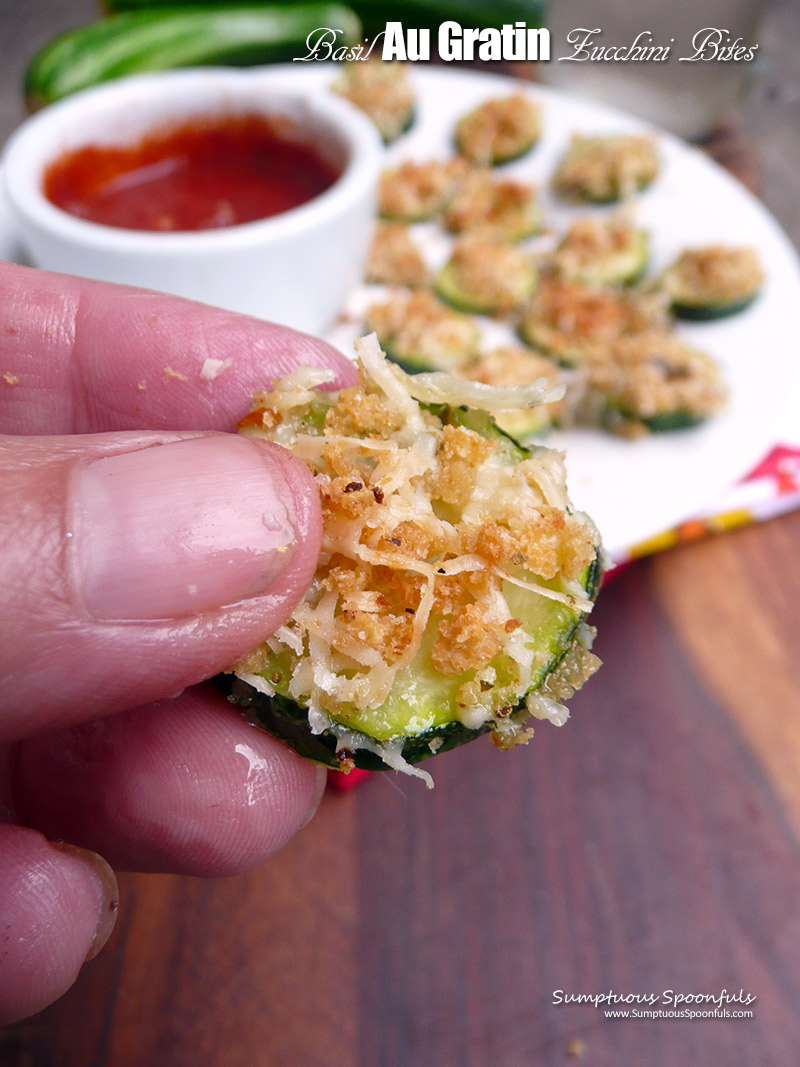
Crunchy, cheesy little bites flavored with garlic and basil, perfect for snacking and dipping! With just six ingredients, you can have this healthy addicting appetizer hot and ready on the table in less than 30 minutes … AND use up some of that excess zucchini from the garden in the process.
I planted my OWN garden this year, you guys! It was quite a process and a LOT of work. There are complicating factors that made it so. I have lots of wildlife that visits my yard and they LOVE to munch on things. Deer, woodchucks (aka groundhogs), voles, rabbits, turkey, possum, raccoon … just about anything that COULD chance upon a yard in South Dakota loves to hang out in a South Dakota landscape loves my yard. Part of that is because most of my yard is forest, so they have ample places to hide. I love the wildlife and love to welcome them to my yard. This has been what has dissuaded me from making my own garden in the past. How do I protect my garden from that many pests? In the past, with all the things I had going on in my live, it seemed insurmountable.
But today, with COVID-19 keeping my confined (voluntarily … my state still doesn’t quite get how to control this thing and I’m not convinced there are any good measures in place to slow the spread other than South Dakotans are kinda more spread out than many other states). I don’t think this should be a political issue, but it has become so, so let’s just stop there.
I worked from home before COVID, so this is not a HUGE change for me, other than my social time. I used to teach or go to yoga at least 4 times per week, plus friend and family outings. We have found a way to continue with yoga via Zoom classes (let me know if you’d like to join!), but I have had more time on my hands than usual and a burning desire to do something productive with my time.
I decided to pour that vein of energy into gardening. I chose the sunniest place in my back yard (measured by the health of the grass and clover!) and measured out a 10 x 10 foot space that I wanted for my garden. For two weekends, I dug down and removed all the grass/clover mix from this spot and carefully transported it to other “problem spaces” in my yard. Since I have a lot of shade, there were lots of spaces that needed a little help! This took me two weekends of hard physical labor – at least 8 or more hours/day (which, as a desk-job day worker, cook and yoga instructor, I was fit but SO not used to these extended hard workouts!)
Once I got the space cleared, I knew I needed a raised bed to reduce the afore-mentioned pests. So I planned out a keyhole-style design, determined all the dimensions I’d need, and ordered them special from Home Depot (they will do the cuts for you for free). They didn’t get it right the first time (AT ALL), but they did make it right, although I had to go there in person and supervise the cuts. (I did pick up most of everything else I needed on that trip.)
Once the boards were ready, I had all the things in place to get started … all I had to do was put it together. Easy peasey, right? Um, well, I guess you could say that but my sore muscles would not agree with you, That took me another weekend or maybe more? Not quite sure.
And THEN it was time to fill the garden. Options were to go get free compost from the city, to purchase bags of soil from the local stores, or to order a load of soil delivered. Being a frugal person, I opted for the first one: go for it, girl, right? Again, hard physical labor. Here’s what that entailed: gather all the available buckets in the house, put down a tarp/plastic underneath and load them to the car along with a shovel, drive to the city facility, fill ALL the buckets with good compost, then drive home, transport to garden, unload and smooth. Simple, right? I did luck out and got family and random strangers to help, but still, took me another two weekends, many trips to the compost pile and lots and lots of shoveling. That took a toll on my body. I had to take an extra couple weeks to recover. While I AM in great shape, I’m not the spring chicken I used to be and I felt a little ill, truth be told. I worried I had caught COVID, but after a few days (weeks? Time is all a blur …) my energy level returned and I felt good again.
The other side-benefit of all this work on the garden is I’ve actually lost weight while so many (since COVID started) has gained what they are referring to as the COVID-19 … or the Quaran-Twenty.
Finally it was time to plant and then watch my babies grow … it felt a little lazy now, after all that work, but I tended them carefully and fenced them off from all the pests and was so happy to see them grow like mad. One of my tomato plants grew over 6 feet tall (before I trimmed it back a bit)! Besides the tomatoes, I have peppers, eggplant, herbs, kale, a few carrots for my daughter and zucchini. It’s hard to raise zucchini in such limited space, but I really wanted zucchini. I had some lettuces but they got eaten, by slugs I think. (Gonna make a slug trap, then try again.) I picked my first zucchini just a couple days ago. I actually made this recipe first with some zucchini from my mom and dad’s garden, but then I made it again today with my very own zucchini (and basil) that I grew in MY garden and I was SO very proud.
The funny thing about tackling a project like this is it’s kind of addicting … once you do one project like this, you’re itching to GO again.
I’m loving running out to the garden to grab some fresh kale or herbs or pick a pepper or tomato for my lunch. I had forgotten how satisfying it is to eat something you grew yourself and how much better everything tastes when it’s fresh-picked. It brings me joy to just go out and sit in my garden and notice what’s going on there. I made myself a little bench in the middle of the keyhole. So this recipe is doubly loved, first because it’s easy, healthy and a fun little crunchy snack, but also because I grew the things to make it.
What type of dipping sauce to use with Au Gratin Zucchini Bites?
I’ve been dipping mine in marinara so far, but I’ve got lots of other ideas for fun dipping sauces:
- Homemade marinara or, even better, a creamy tomato vodka sauce
- A twist on creamy ranch (Sriracha ranch, avocado ranch, harissa aioli, sun dried tomato ranch, bacon ranch … or heck, barbecue ranch!)
- Avocado Cilantro Lime Salad Dressing makes a delightful dip!
- Add a Mediterranean kick with Greek tzatziki or enticing sweet pepper muhammara
- If you’re a ketchup fan, dip in your favorite ketchup, or try one of the gourmet varieties
Basil Au Gratin Zucchini Bites
- Prep Time: 10 min
- Cook Time: 20 min
- Total Time: 30 min
- Yield: 1 – 2 servings 1x
- Category: Appetizer
- Method: Baked
- Cuisine: Italian
- Diet: Vegetarian
Description
Crunchy, cheesy little snacks/appetizers you can whip up in no time with just six ingredients!
Ingredients
- 1 medium (8 inch) zucchini, sliced thin (or 2 small summer squash (4 – 5 inch) )
- 1 cup shredded Parmesan, Asiago, or Romano cheese
- 1/3 cup whole wheat, gluten free or panko bread crumbs (I used whole wheat)
- 1/2 teaspoon granulated garlic
- 1/2 teaspoon Italian seasoning
- About 6 – 8 fresh basil leaves, finely chopped (or 1/2 teaspoon dried basil)
- 1/8 teaspoon salt
Instructions
- Preheat oven to 400 F. Spray a small rimmed baking sheet generously with cooking spray (or oil it). Set the zucchini slices on the baking sheet.
- In a small bowl, toss together the shredded cheese, breadcrumbs and seasonings. Top each slice with a good sprinkling of the cheesy breadcrumb mixture. If you end up with any extra of the yummy cheesy breadcrumbs, put them in a covered container in the freezer for next time. Conversely, if you don’t have enough for all your zucchini slices, make more or use the rest of your zucchini slices for other purposes.
- Bake at 400 for about 15 – 20 minutes or until the cheese is melted and the crumbs are browned and toasty. Let sit just until they are cooled off enough to touch, serve with your favorite dipping sauce and enjoy!
Notes
A medium zucchini works much better for this than the small zucchini I used for the photos. You want a zucchini with a little bigger diameter, but still bite-sized. 1 1/2 to two inches wide is about ideal.
© Copyright 2020, Sumptuous Spoonfuls. All images & content are copyright protected. I love it when you share, but please do not use my images on your own site/page without prior permission. If you want to publish any of my images, please ask first. Sharing, pinning, and tweeting is always appreciated as long as the shares and pins link back to here for the recipe. If you want to republish this recipe as your own, please re-write the recipe in your own words or link back to this post for the recipe.
2 comments
I love finding new ways to use zucchini! These look amazing!
I could eat these every day love them!