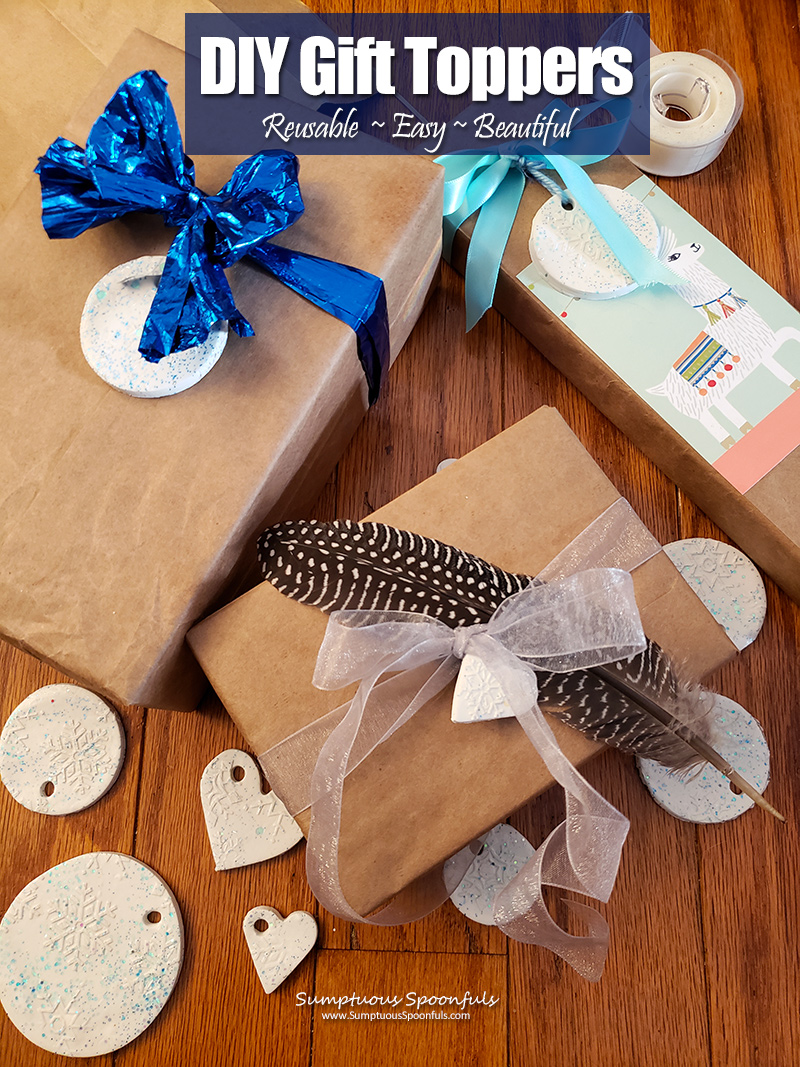
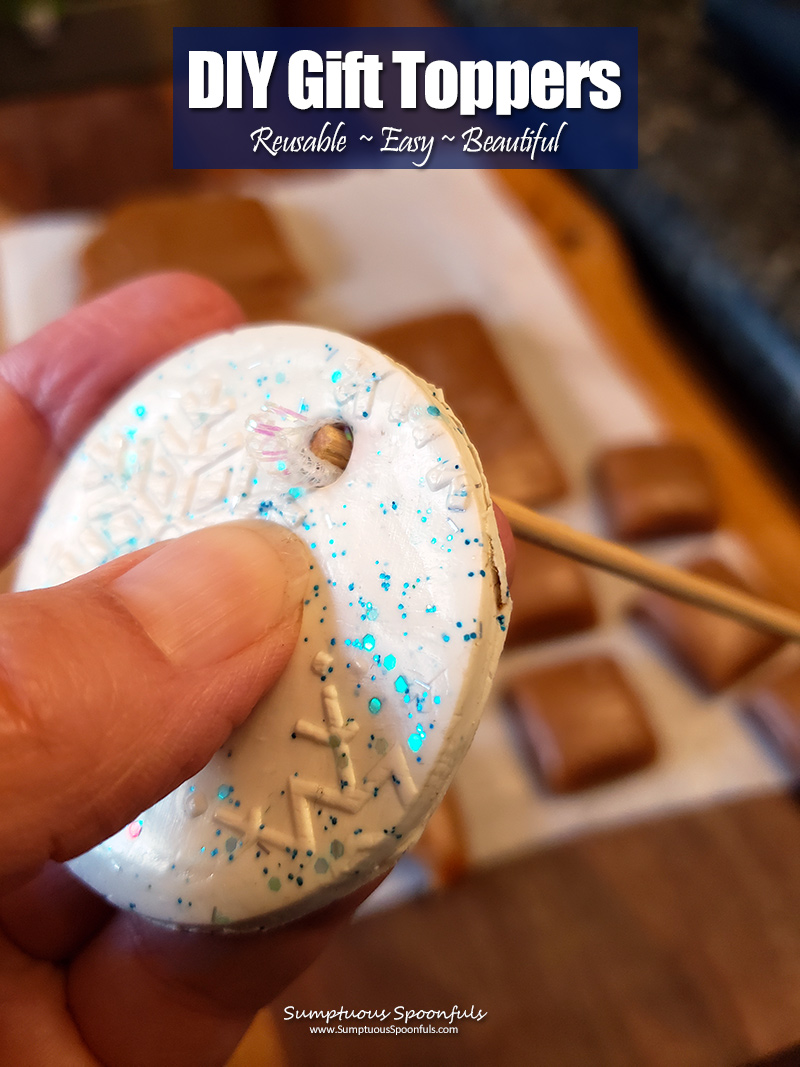
Beautiful and easy, these pretty gift toppers / gift tags are a fun project you can easily do yourself or get the kids involved to make memorable gift toppers / gift tags you can use year after year and cherish the memories.
I know, I know, I’m a food blogger and this is NOT food. Honestly, the first thing that came to made was a gift tag cookie … who’s to say a cookie couldn’t be your gift topper? (and gift tag) … because who wouldn’t LOVE an edible treat with their name on it on the top of their present … But then I remembered that works great as long as you don’t have dogs around who want to EAT them, and who might rip apart the present in the process. And my family has lots of dogs. But really, this is almost just like baking cookies, so why not?
Sustainable Gift Giving
Why reusable gift toppers? Well, sustainability has been on my mind a LOT lately. As more and more supply chains run dry, paper is in short supply, and plastic is littering our oceans and killing off wildlife every day, I decided this holiday season we needed something more sustainable for our gift giving. I suggested a stuff-free Christmas or a white elephant (because do any of us really need even yet more STUFF?) but the fam was having none of that. It’s hard to change family tradition, after all, and Christmas has for sooo many years been all about the presents.
But if we must give gifts (and, to be honest, I LOVE giving gifts and seeing the look of joy in the eyes of the gift-getters when they open their surprise), can we at least make the wrapping more sustainable? Holiday gift wrap is not recyclable and just adds to the building mass of junk on our planet … so my little corner of the family decided that we will at least make our gift wrap more sustainable.
Brown Paper Packages Tied up with Strings
In that vein, our gift wrapping theme this year is “brown paper packages” (using old brown paper bags or brown paper packaging) … Of course this makes me want to burst into song every time I start cutting up another brown paper bag to wrap a present (and on several occasions I have) …
Raindrops on roses and whiskers on kittens
Rogers and Hammerstein: The Sound of Music
Bright copper kettles and warm woolen mittens
Brown paper packages tied up with strings
These are a few of my favorite things.
I’ve often thought that plain brown paper was the perfect backdrop for a beautiful gift, so this year I’m super excited to musically make my way through Christmas gift-wrapping and still hand my loved ones a pretty present they can’t wait to open.
That’s where these pretty gift toppers come into play. Not only are they attractive and sparkly, they won’t shed their sparkles all over everyone’s clothes and hair and pets (like some sparkly wrapping papers do). AND they are easily personalized so you can reuse them as an ornament or save them for next year’s gift-fest and hang the same tags on a new present.
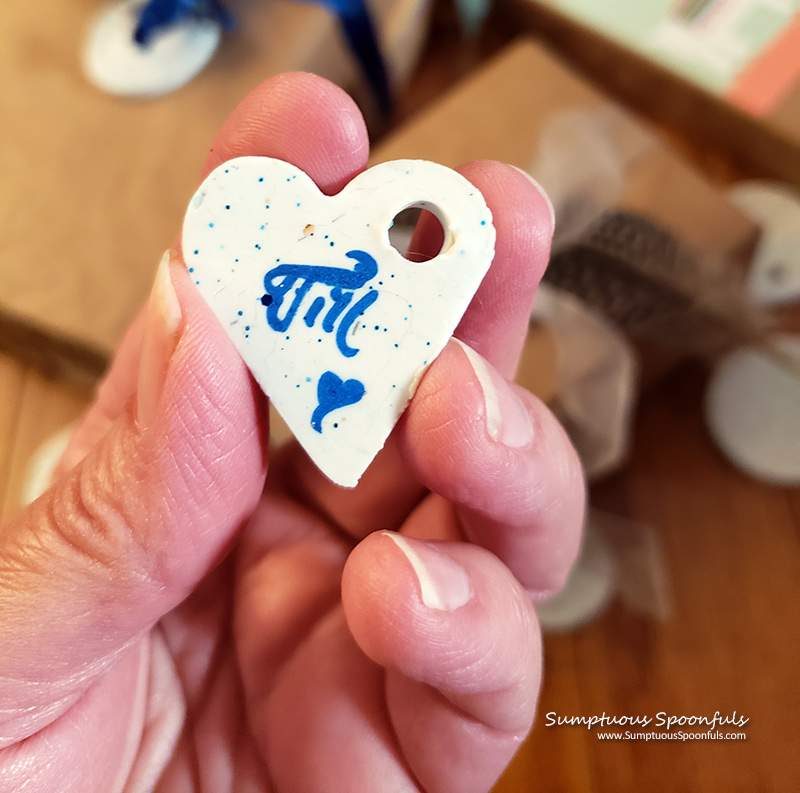
I used a sharpie to write the recipient’s name on the back, but you can also use alphabet stamps to stamp a name or message on the front if you like.
Why were the brown paper packages tied up with strings?
Since we’re singing about brown paper packages, back in the days before gift wrap, people used whatever they had to conceal the contents of a gift to make it special.
According to ChildrensMuseum.org:
“Many ancient cultures celebrated various holidays that involved the giving of gifts. The desire to hide the identity of a gift until just the right moment led people to wrap gifts long, long ago. Historians believe wrapping gifts in paper probably started not long after paper was invented thousands of years ago.
Wrapping paper like we use today, though, is a much more recent invention. More than 100 years ago, gifts were usually wrapped in simple tissue paper or heavy brown paper. Before that, cloth was often used, such as a handkerchief or a napkin.”
In those days, of course, tape had not been invented yet, so they used string or sealing wax to hold it together.
But I digress! Let’s get back to our gift toppers.
What You’ll Need to Make these Gift Toppers/Gift Tags
- Parchment paper or waxed paper
- Good quality polymer clay or salt dough (recipe here)
- Glitter of various sizes/colors (optional)
- Rolling pin
- An etched rolling pin – or leaves, sprigs of evergreen or rosemary, lace, cookie stamps, pine cones or needles, rubber crafting stamps, ribbon, bottoms of crystal vases – whatever provides an interesting texture!
- Cookie cutters, biscuit cutter or something circular to cut the outer edges
- A drinking straw, for making the holes
- Aluminum foil
- Sharpie marker, for adding names
- String, yarn or ribbon, for attaching to your package
- Mod Podge plus paint brush and thin sponge on a stick (optional)
Instructions:
- Line your work area with parchment paper. Also line your baking sheet with parchment paper.
- Break off a chunk of the clay or salt dough and knead it to soften if needed.
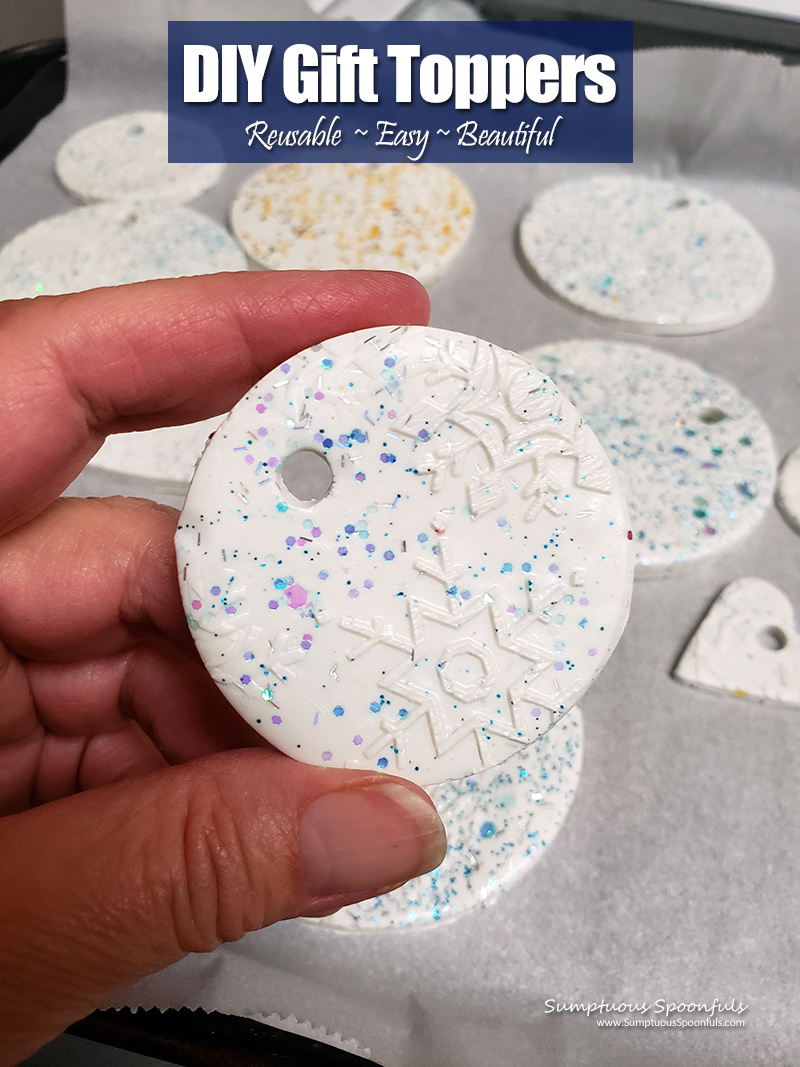
- If using glitter, you can work it into the dough or roll out the dough on the prepared area to 1/4 inch thick, then sprinkle glitters on top and roll a bit more to press the glitter into the dough. Roll the etched rolling pin over or use stamps, leaves, or maybe a sprig of rosemary to texturize the surface.
- Cut the gift toppers into the desired shapes using cookie cutters or biscuit cutters, jar lids or even a glass.
- Cut a hole for hanging using the straw. If you like, use alphabet stamps to create the names or words. Set the finished toppers on the prepared baking sheet.
- Set the oven at the lowest temperature or temp recommended by the clay manufacturer. For mine, I used clay polymer and set the oven to 170 F. The recommended temp for salt dough is 200 F. For clay: bake for at least 30 minutes, tenting with foil. For salt dough: bake for 1 hour. Let cool completely.
- Gather up the scraps, re-roll and head back to step 3. I worked the bit of clay from my straw back into my scraps.
- After baking:
- Add the name of the giftee or other wording with a sharpie on the back (or front), if desired.
- To secure the glitter inside the topper, paint the top with mod podge. If you have lumps, use a sponge to smooth it out to a thin layer. Let dry at least 30 minutes more. If you like, paint the bottom as well (AFTER name has dried).
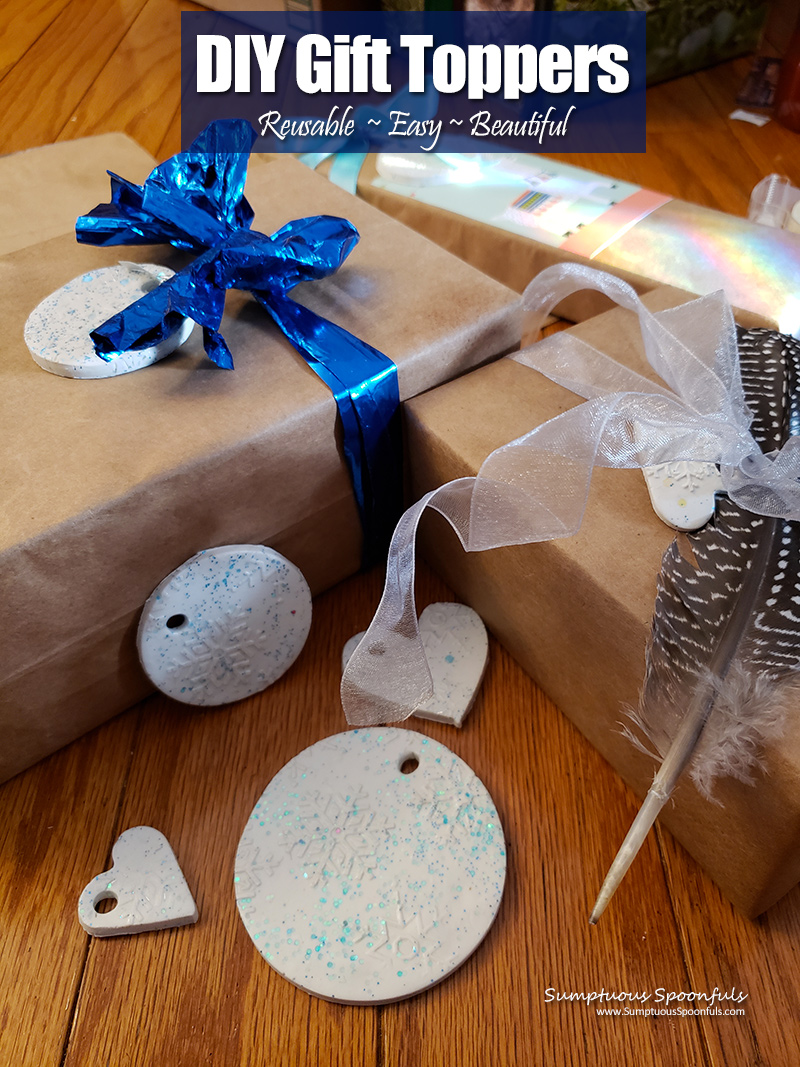
- Use a string, yarn, or ribbon to attach the gift topper to your present. Sit back and revel in the beauty of your creation!
Notes:
- Parchment paper and aluminum foil are both reusable for your next batch … but if you’re using polymer clay, do NOT use them for cooking projects.
- If using clay, note that polymer clay can release toxic fumes into your oven, so do NOT bake food immediately after baking your toppers. Give your oven time to air out, preferably with the door ajar, preferably overnight or longer.
- © Copyright 2021, Sumptuous Spoonfuls. All images & content are copyright protected. I love it when you share, but please do not use my images on your own site/page without prior permission. If you want to publish any of my images, please ask first. Sharing, pinning, and tweeting is always appreciated as long as the shares and pins link back to here for the recipe. If you want to republish this recipe as your own, please re-write the recipe in your own words or link back to this post for the recipe.
How to attach these gift toppers to the presents?
Simply use pretty ribbon or even scraps of yarn to tie them to the packages. If you have a wider ribbon that doesn’t want to fit through the hole, use the flat end of a wooden skewer to push a bit of the ribbon through the hole. Once you have enough ribbon through the hole so you can grab it with your fingers, then just give it a little pull and voila! Ribbon for attaching to the gift.
Now that you have pretty baubles for your gifts, do you need some ideas for what to put IN the gifts? If you’re looking for homemade gift ideas from the kitchen that everyone will LOVE, there’s something for everyone in the list below. Gifts you make yourself are so much more heartfelt and meaningful than more STUFF from the store, right?
Homemade Gift Ideas

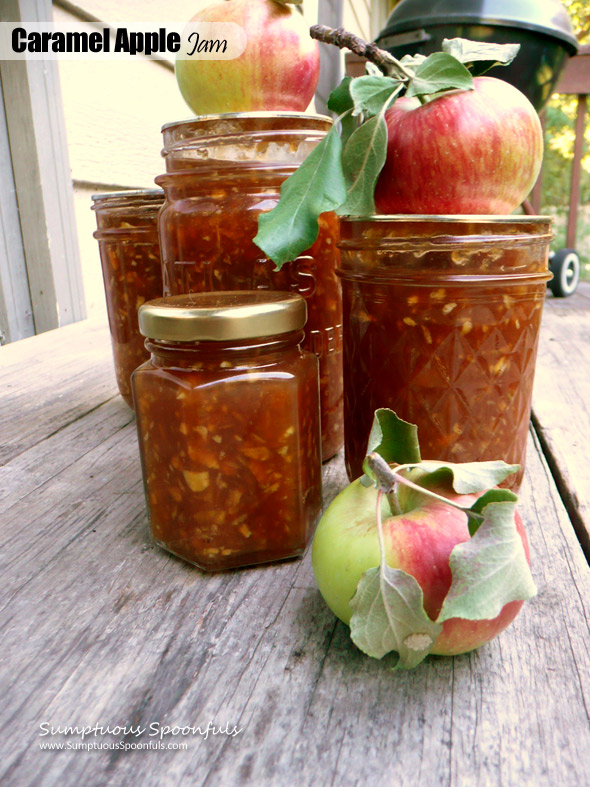
Homemade cheeses, sauces, jams, pickles, seasonings and spices make great stocking stuffers or you can also make a collection or gift basket pairing your homemade goodies with pantry staples, kitchen essentials or delightful beverages. Here are some fun ideas:
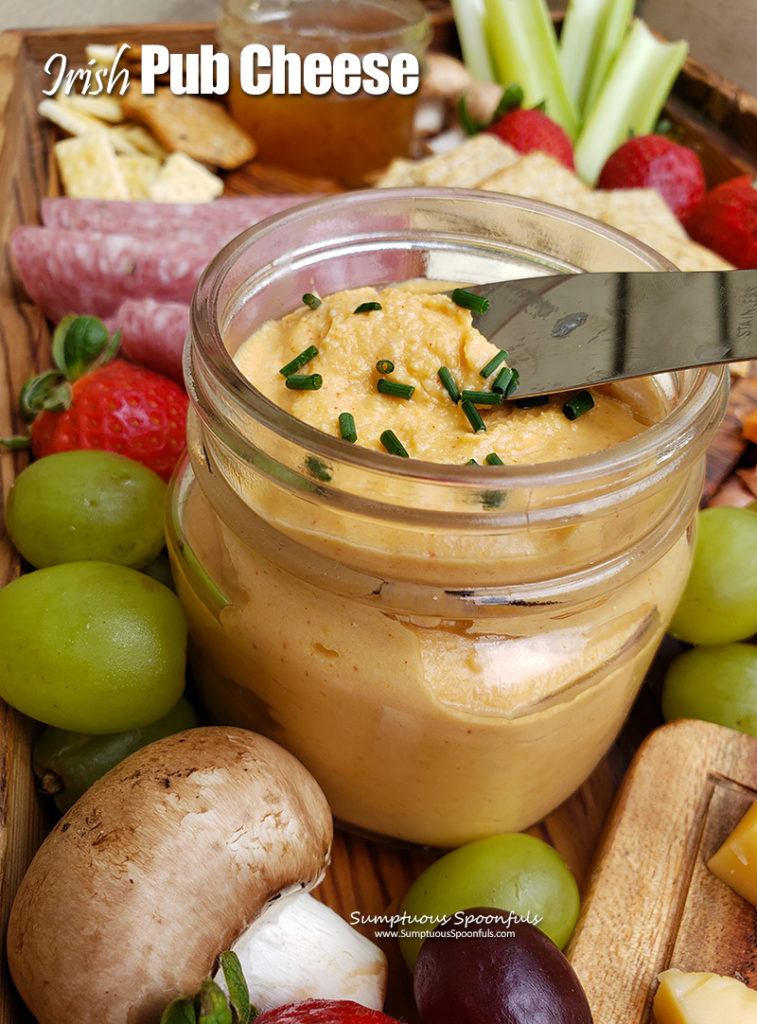
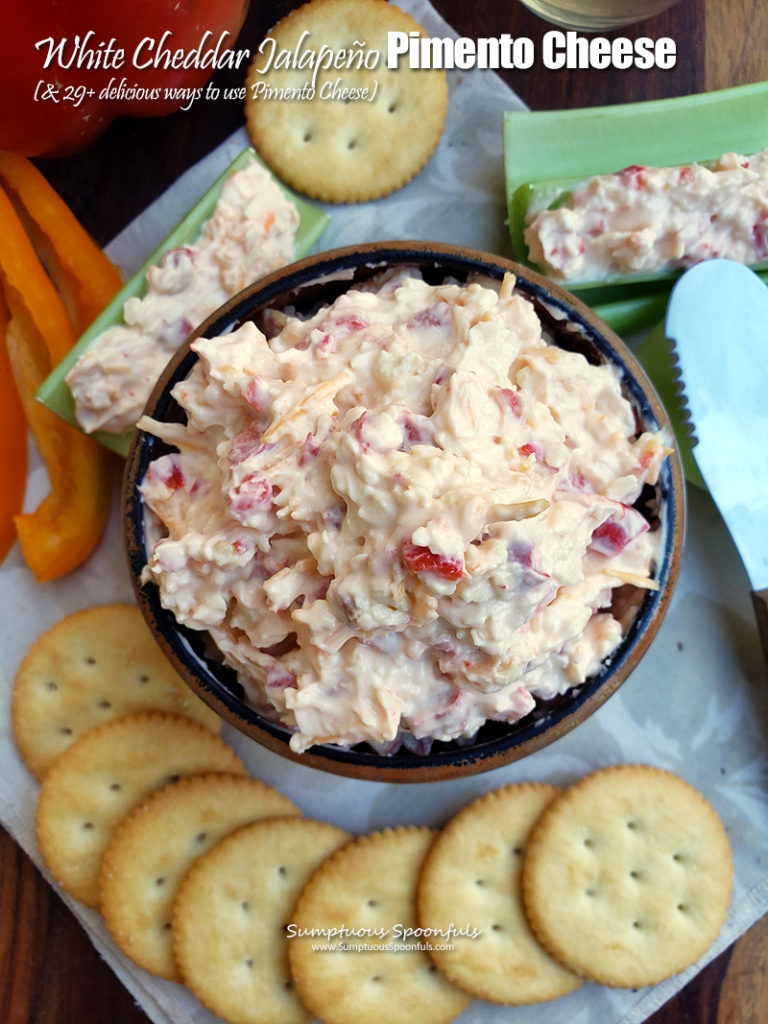
- Cheesy Paradise: Cheese is one of my favorite things to give for the holidays! Package up some homemade Irish Pub Cheese, Pimento Cheese or Marinated Cheese with store-bought or homemade crackers. Add a bottle of their favorite wine (or sparkling grape juice) and a pretty cutting board or serving tray for a special gift that will long be remembered.
- Pumpkin Everything: Package up some homemade pumpkin pie spice with a couple cans of pumpkin plus recipes for your favorite pumpkin treats. Add pumpkin spice syrup, some chai tea or coffee and a mug and/or a pretty pie dish so they’re all set for baking pumpkin pie!
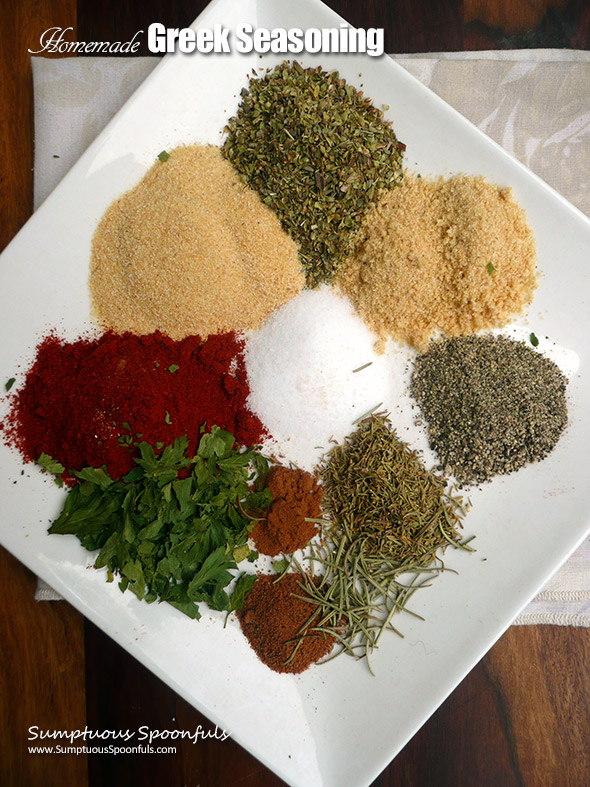
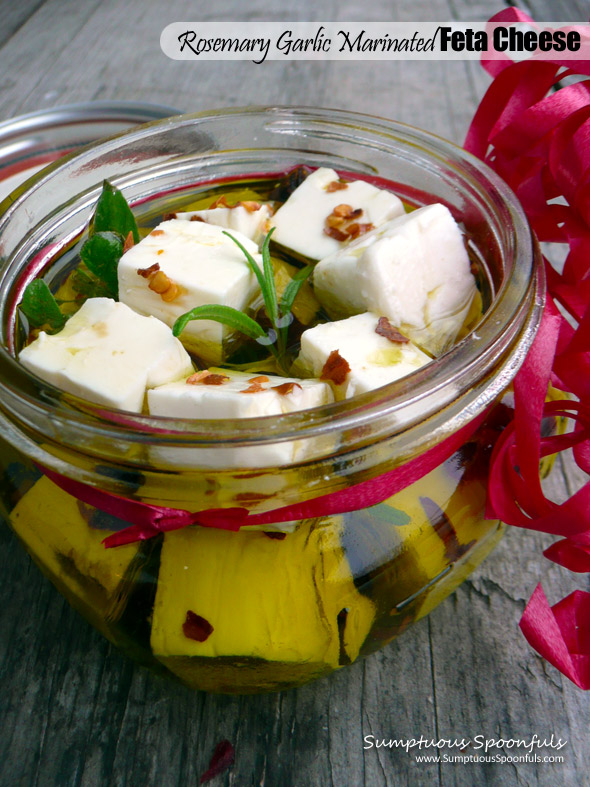
- Mediterranean Gift Box: Pair Greek seasoning, Shawarma Seasoning and Ras El Hanout with Greek meat sauce, marinated feta, muhammara, Greek salad dressing, fancy jarred olives, pita crisps, some good olive oil and mabye even throw in some cream cheese baklava pinwheels for dessert! Make sure to include some recipes so they know how to use their new seasonings.
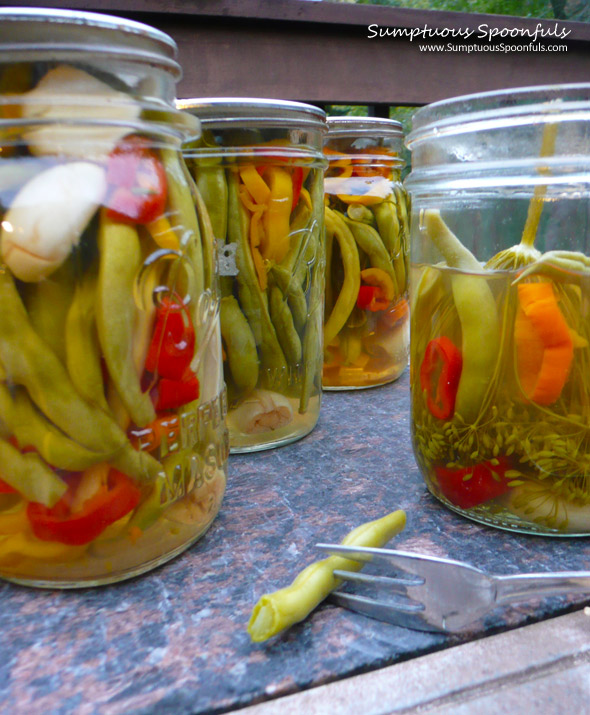
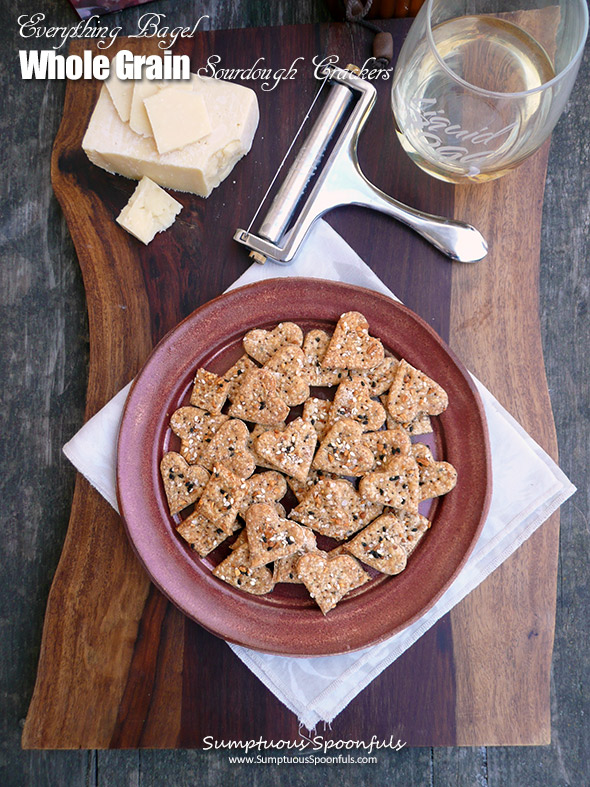
- Everyday Delights: Make every day more delicious for your loved ones by giving them some Red Robin Seasoning and Bacon Mushroom Salt. Add some homemade pickles or jams, homemade crackers and whatever else you think might help make their life tastier.
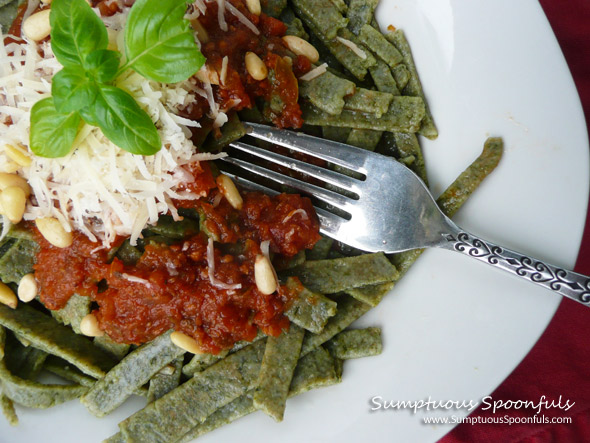
- Pasta-bilities: Make a box including dried pasta (purchased or homemade), your favorite homemade pasta sauce along with some good Parmesan or Romano cheese and a bottle of Italian olive oil. Add a pasta strainer and/or cheese shredder, a bottle of their favorite Italian wine and perhaps some wine glasses?
Sweet Homemade Edibles
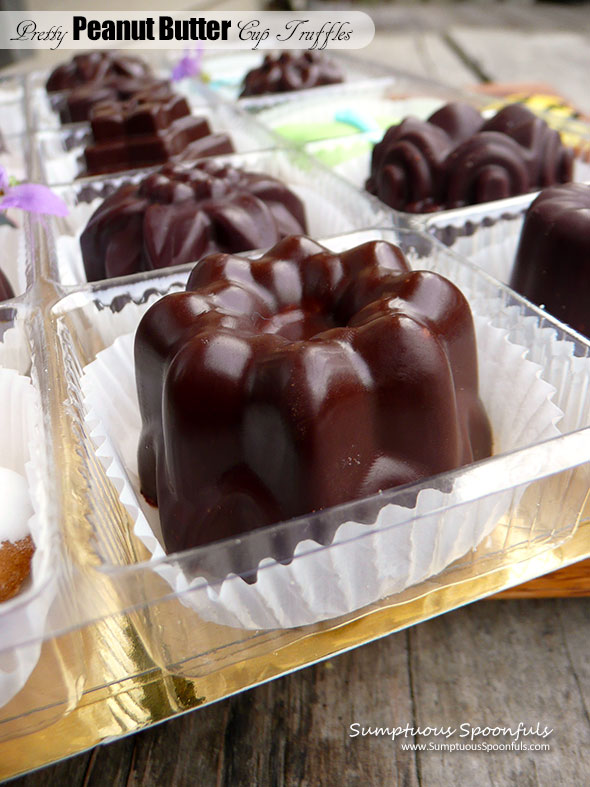

- Truffles – whether you use a mold or just roll them into a ball, homemade truffles are easy to make and always appreciated. Here are a few of my favorites:
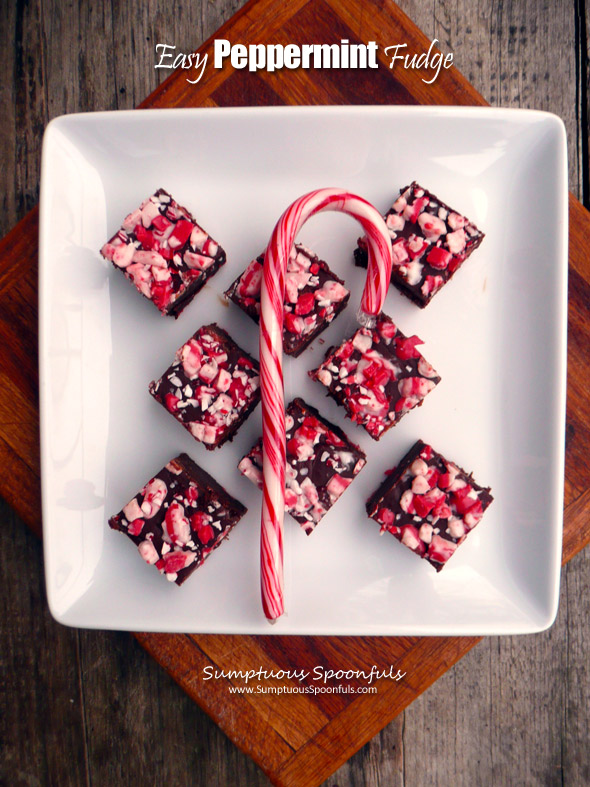
- Homemade Fudge – who doesn’t love fudge for the holidays? My decadent fudge recipes are super easy to make and so rich and delicious, your recipients will be singing your praises.
- Other Homemade Treats
- Magic 7 Layer Bars – I’ve got so many variations of these, but they’re all super easy and absolute ooey gooey decadent heaven. Try the Peanut Butter Mashup Bars, Peppermint Hot Chocolate Bliss Bars or the Autumn Bliss Bars.
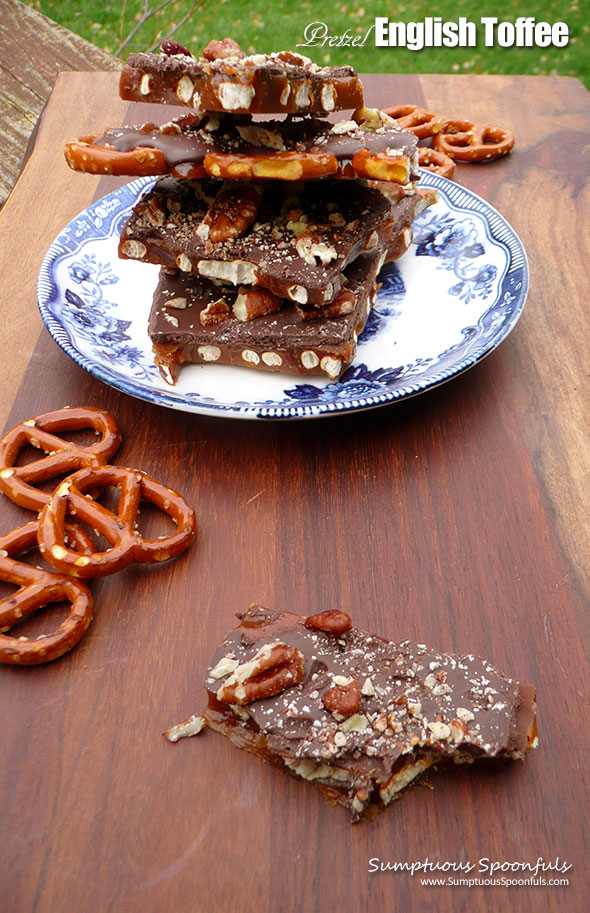
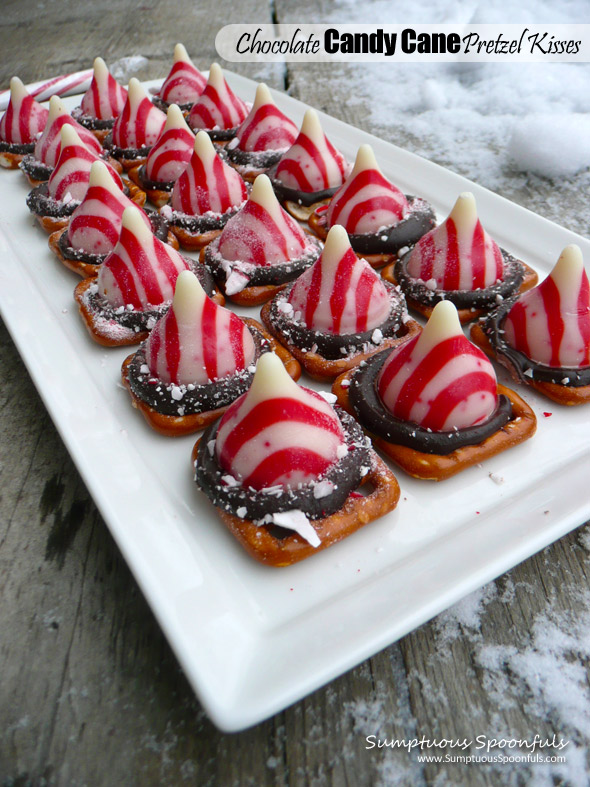
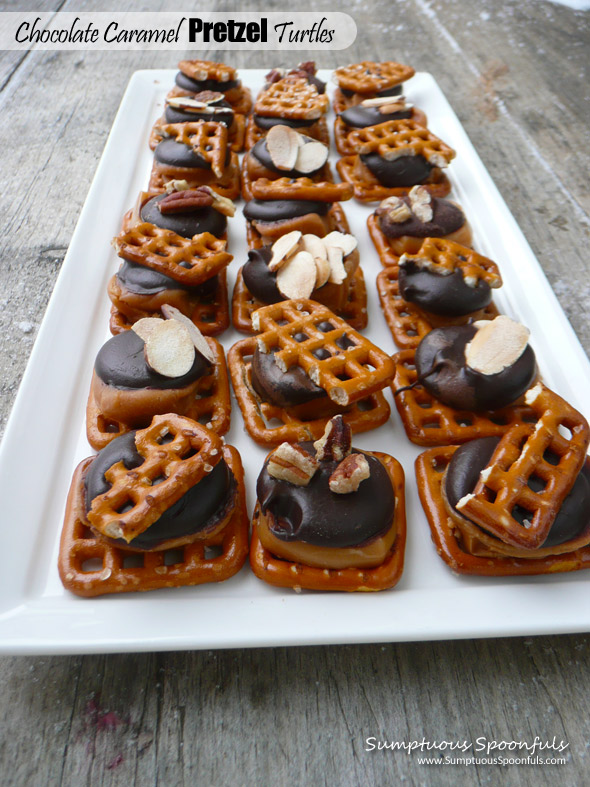
- Pretzels – Pretzel English Toffee, Chocolate Candy Cane Pretzel Kisses or Chocolate Caramel Pretzel Turtles
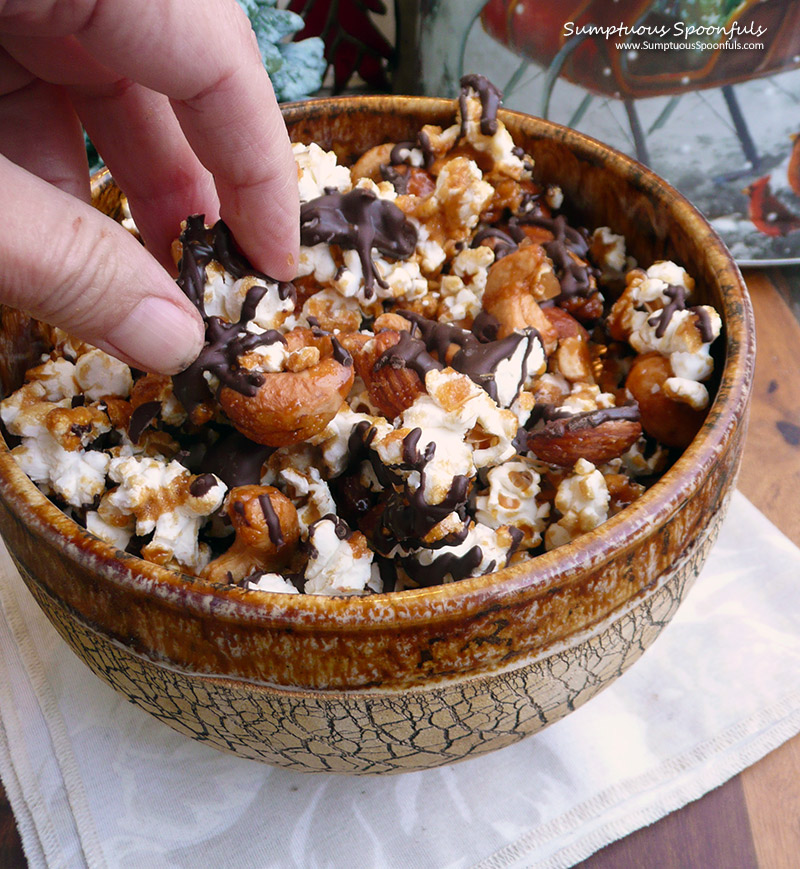
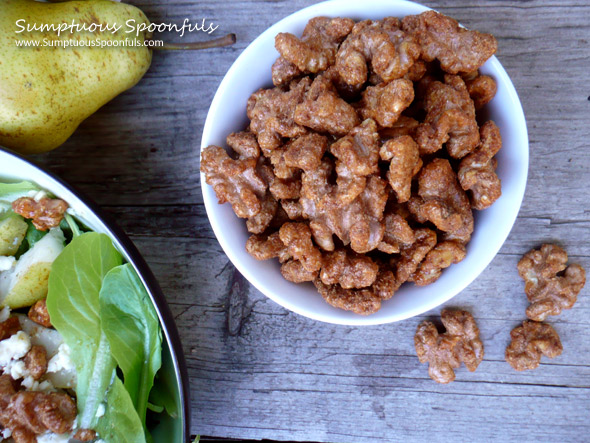
- Candied Nuts – You can’t go wrong with candied nuts! Cinnamon Roasted Almonds, Candied Walnuts, Butter Rum Pecans, Chocolate Honey Toffee Peanuts, or Jack’s Sweet Hot Party Pecans
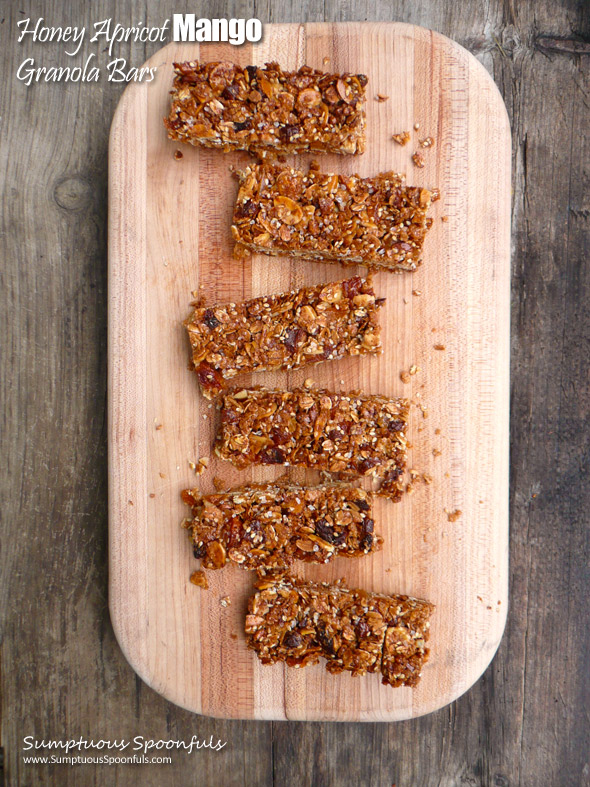
- Healthier Treats – Homemade granola bars, energy bites, fiber turtles, and made-from-scratch granola are great for the health conscious loved ones on your list.
- Cookies and Bars
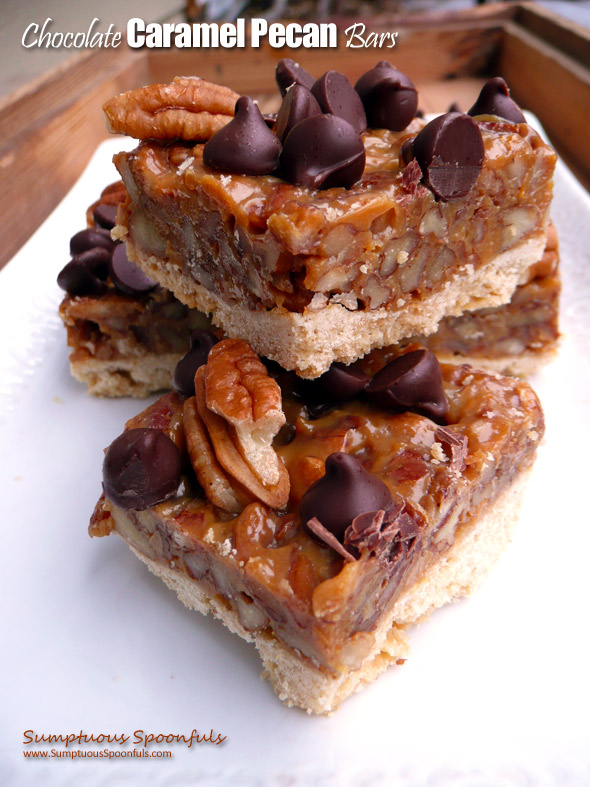
- Chocolate Caramel Pecan Bars
- Lively Lemon Cake Bars
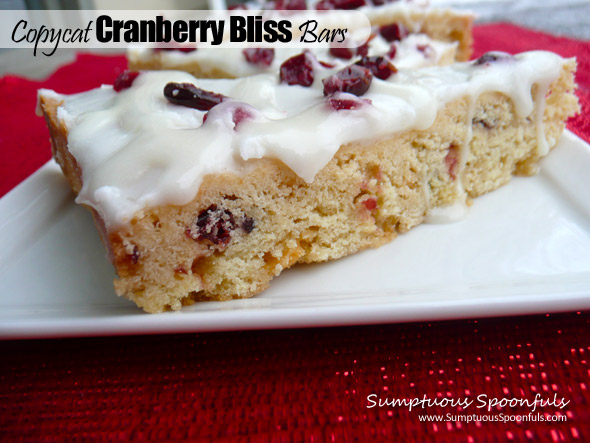
- Copycat Starbucks Cranberry Bliss Bars